Soda Pop!

Let’s see…When we left off, I had just posted about our visit to  the quilt exhibit at the MFA.  Coincidentally, not long after, I received an e-mail announcing a new collection of embroidery designs, Modern Blossoms, coordinating with  Amanda Murphy‘s Soda Pop Quilt pattern.

Amanda Murphy Soda Pop Quilt

The scene was set.  I ordered the designs, and soon set out to locate the pattern in a nearby shop. It turned-out to be a  very successful shopping trip and included picking up some of the fabrics for the project!  I was excited to get started but was in the midst of a Christmas quilt gifted to me last year that I wanted to complete for the holiday season.

So, after Christmas I finally got started.

Modern Blossoms Designs

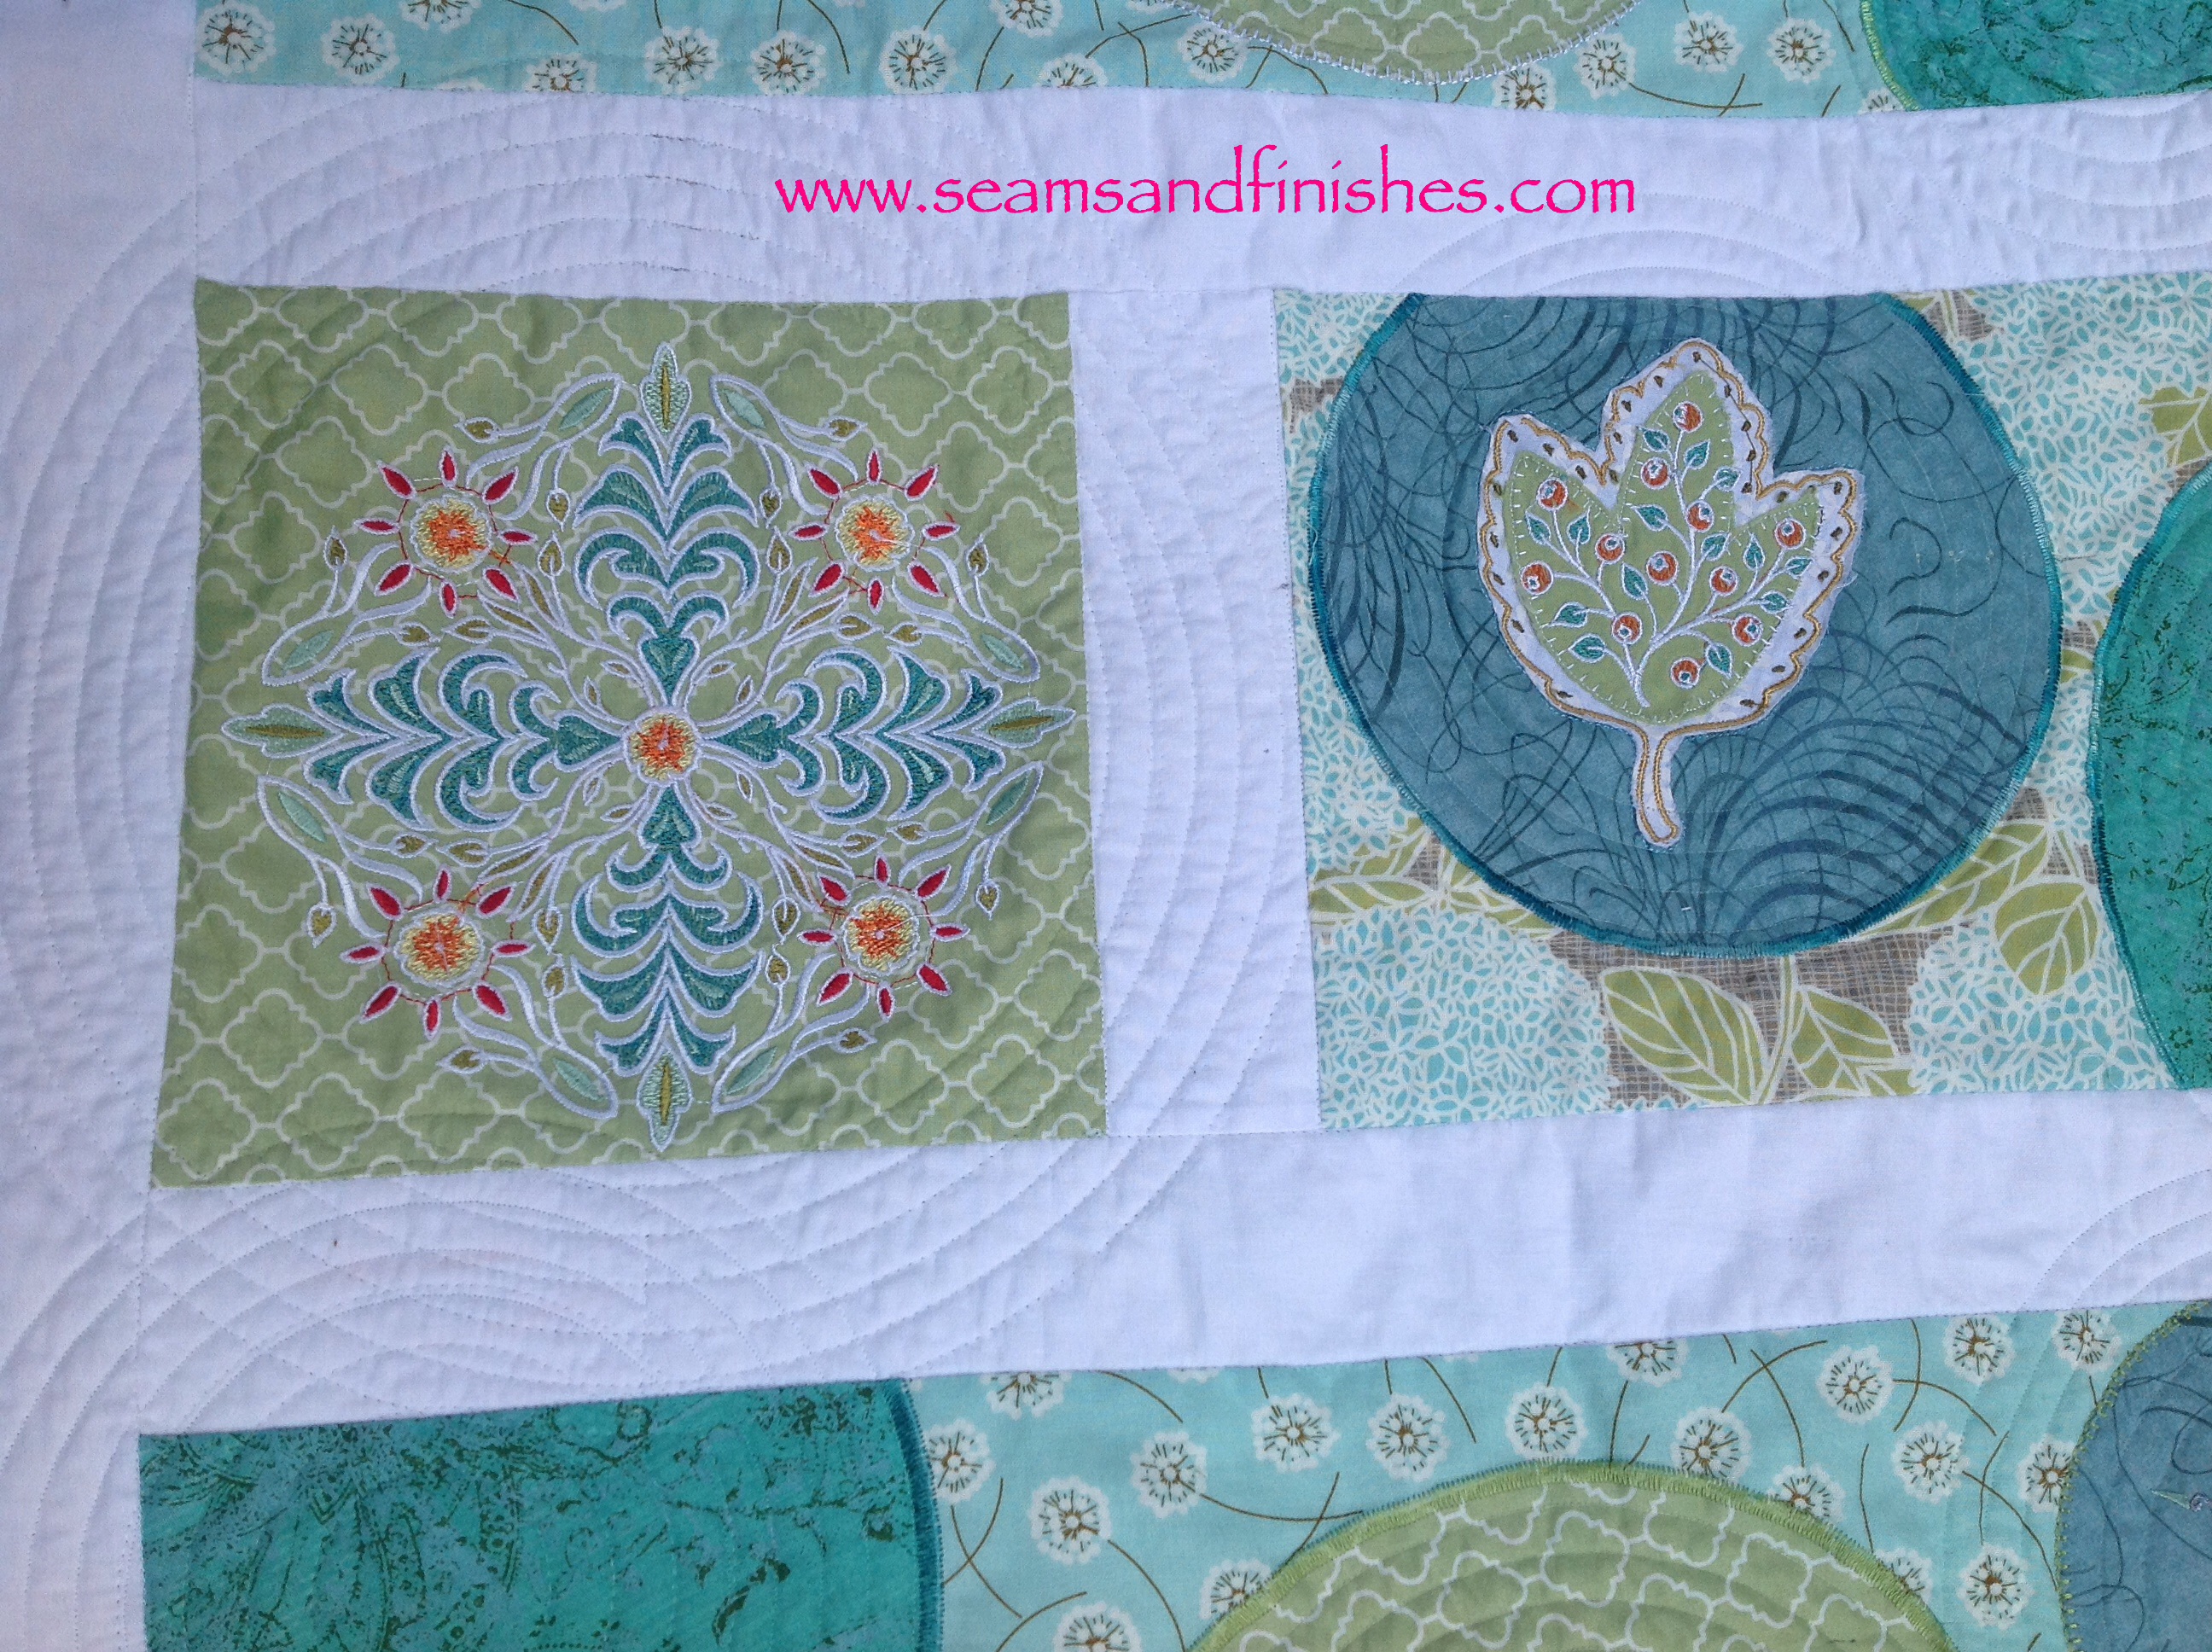
When the first design (seen on the left) was loaded into the machine, it told me the stitching time for that design would be 2 hours.  The leaf on the right is an applique with embroidery used to tack it down and embellish on top.  In total, I think there are 25-30 different designs that I chose to use, but the stitch-out time for each design varied.

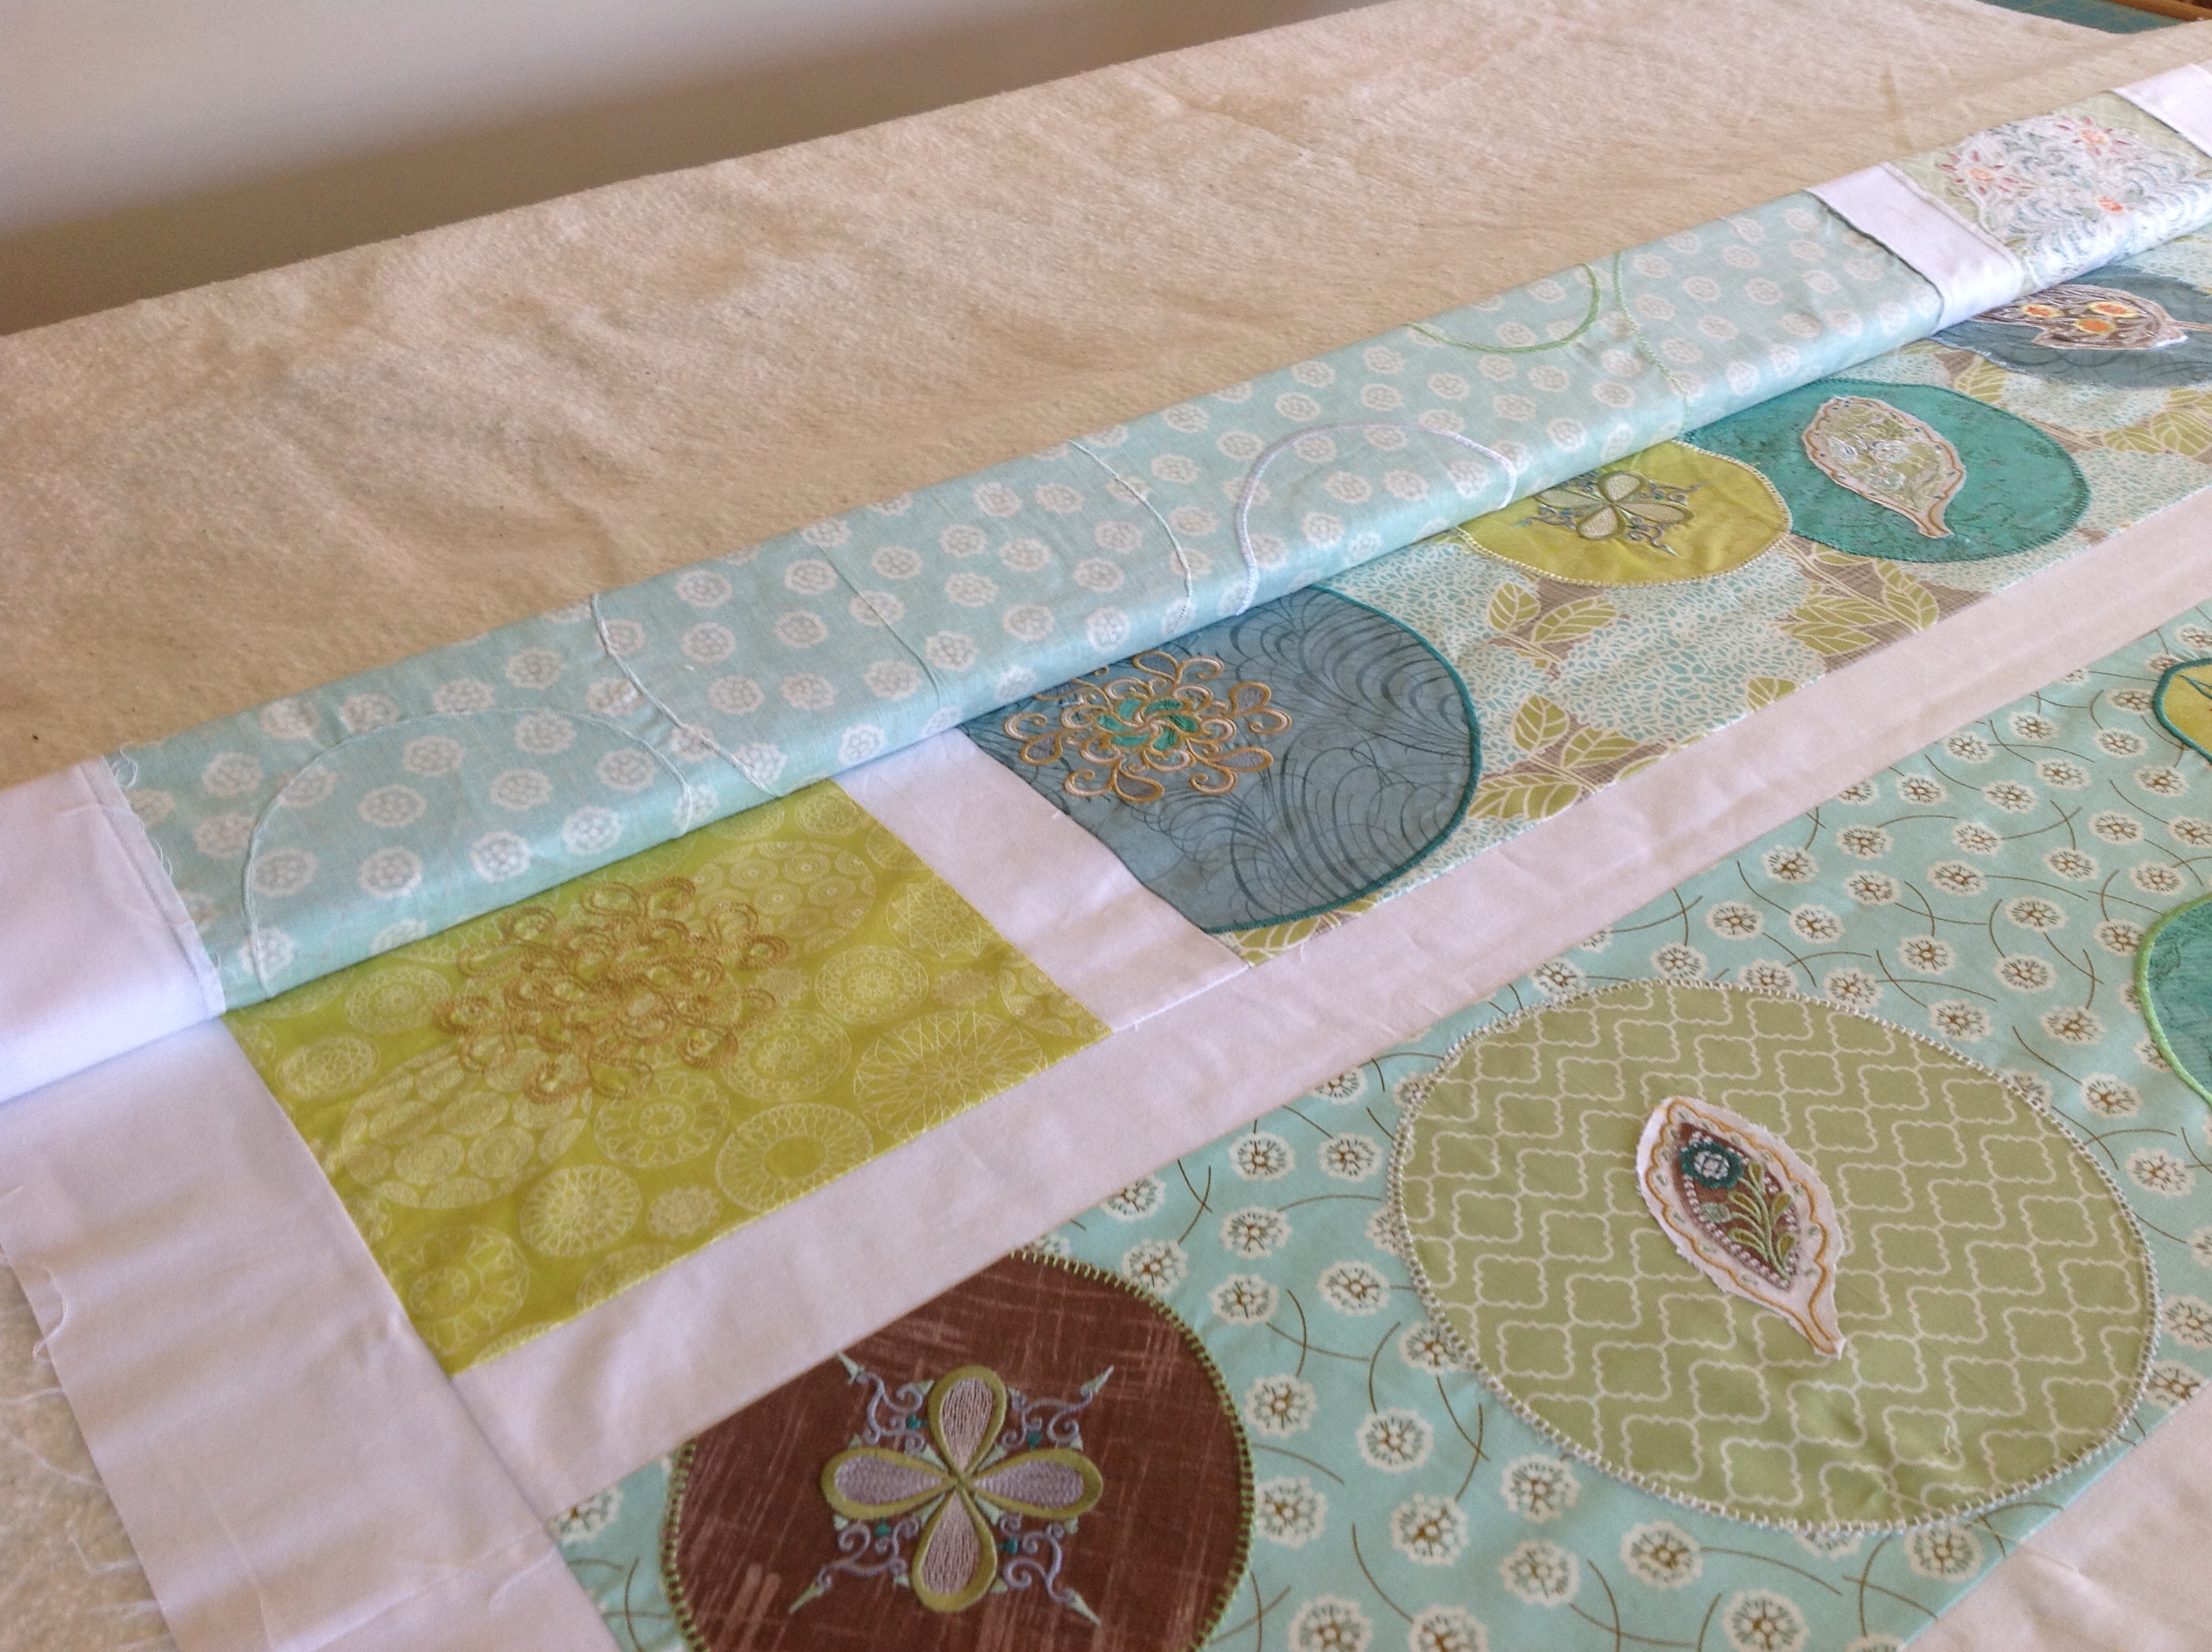
Once the the embroidery was done, and the quilt top completed, I had to figure-out a way to layer this quilt, keeping the layers flat.  To be honest, this is the largest and most complex quilt I’ve ever made so there’s lot of material to contend with!

Problem solved through a YouTube video where Sharon Schambler demonstrates just how to do this!

image

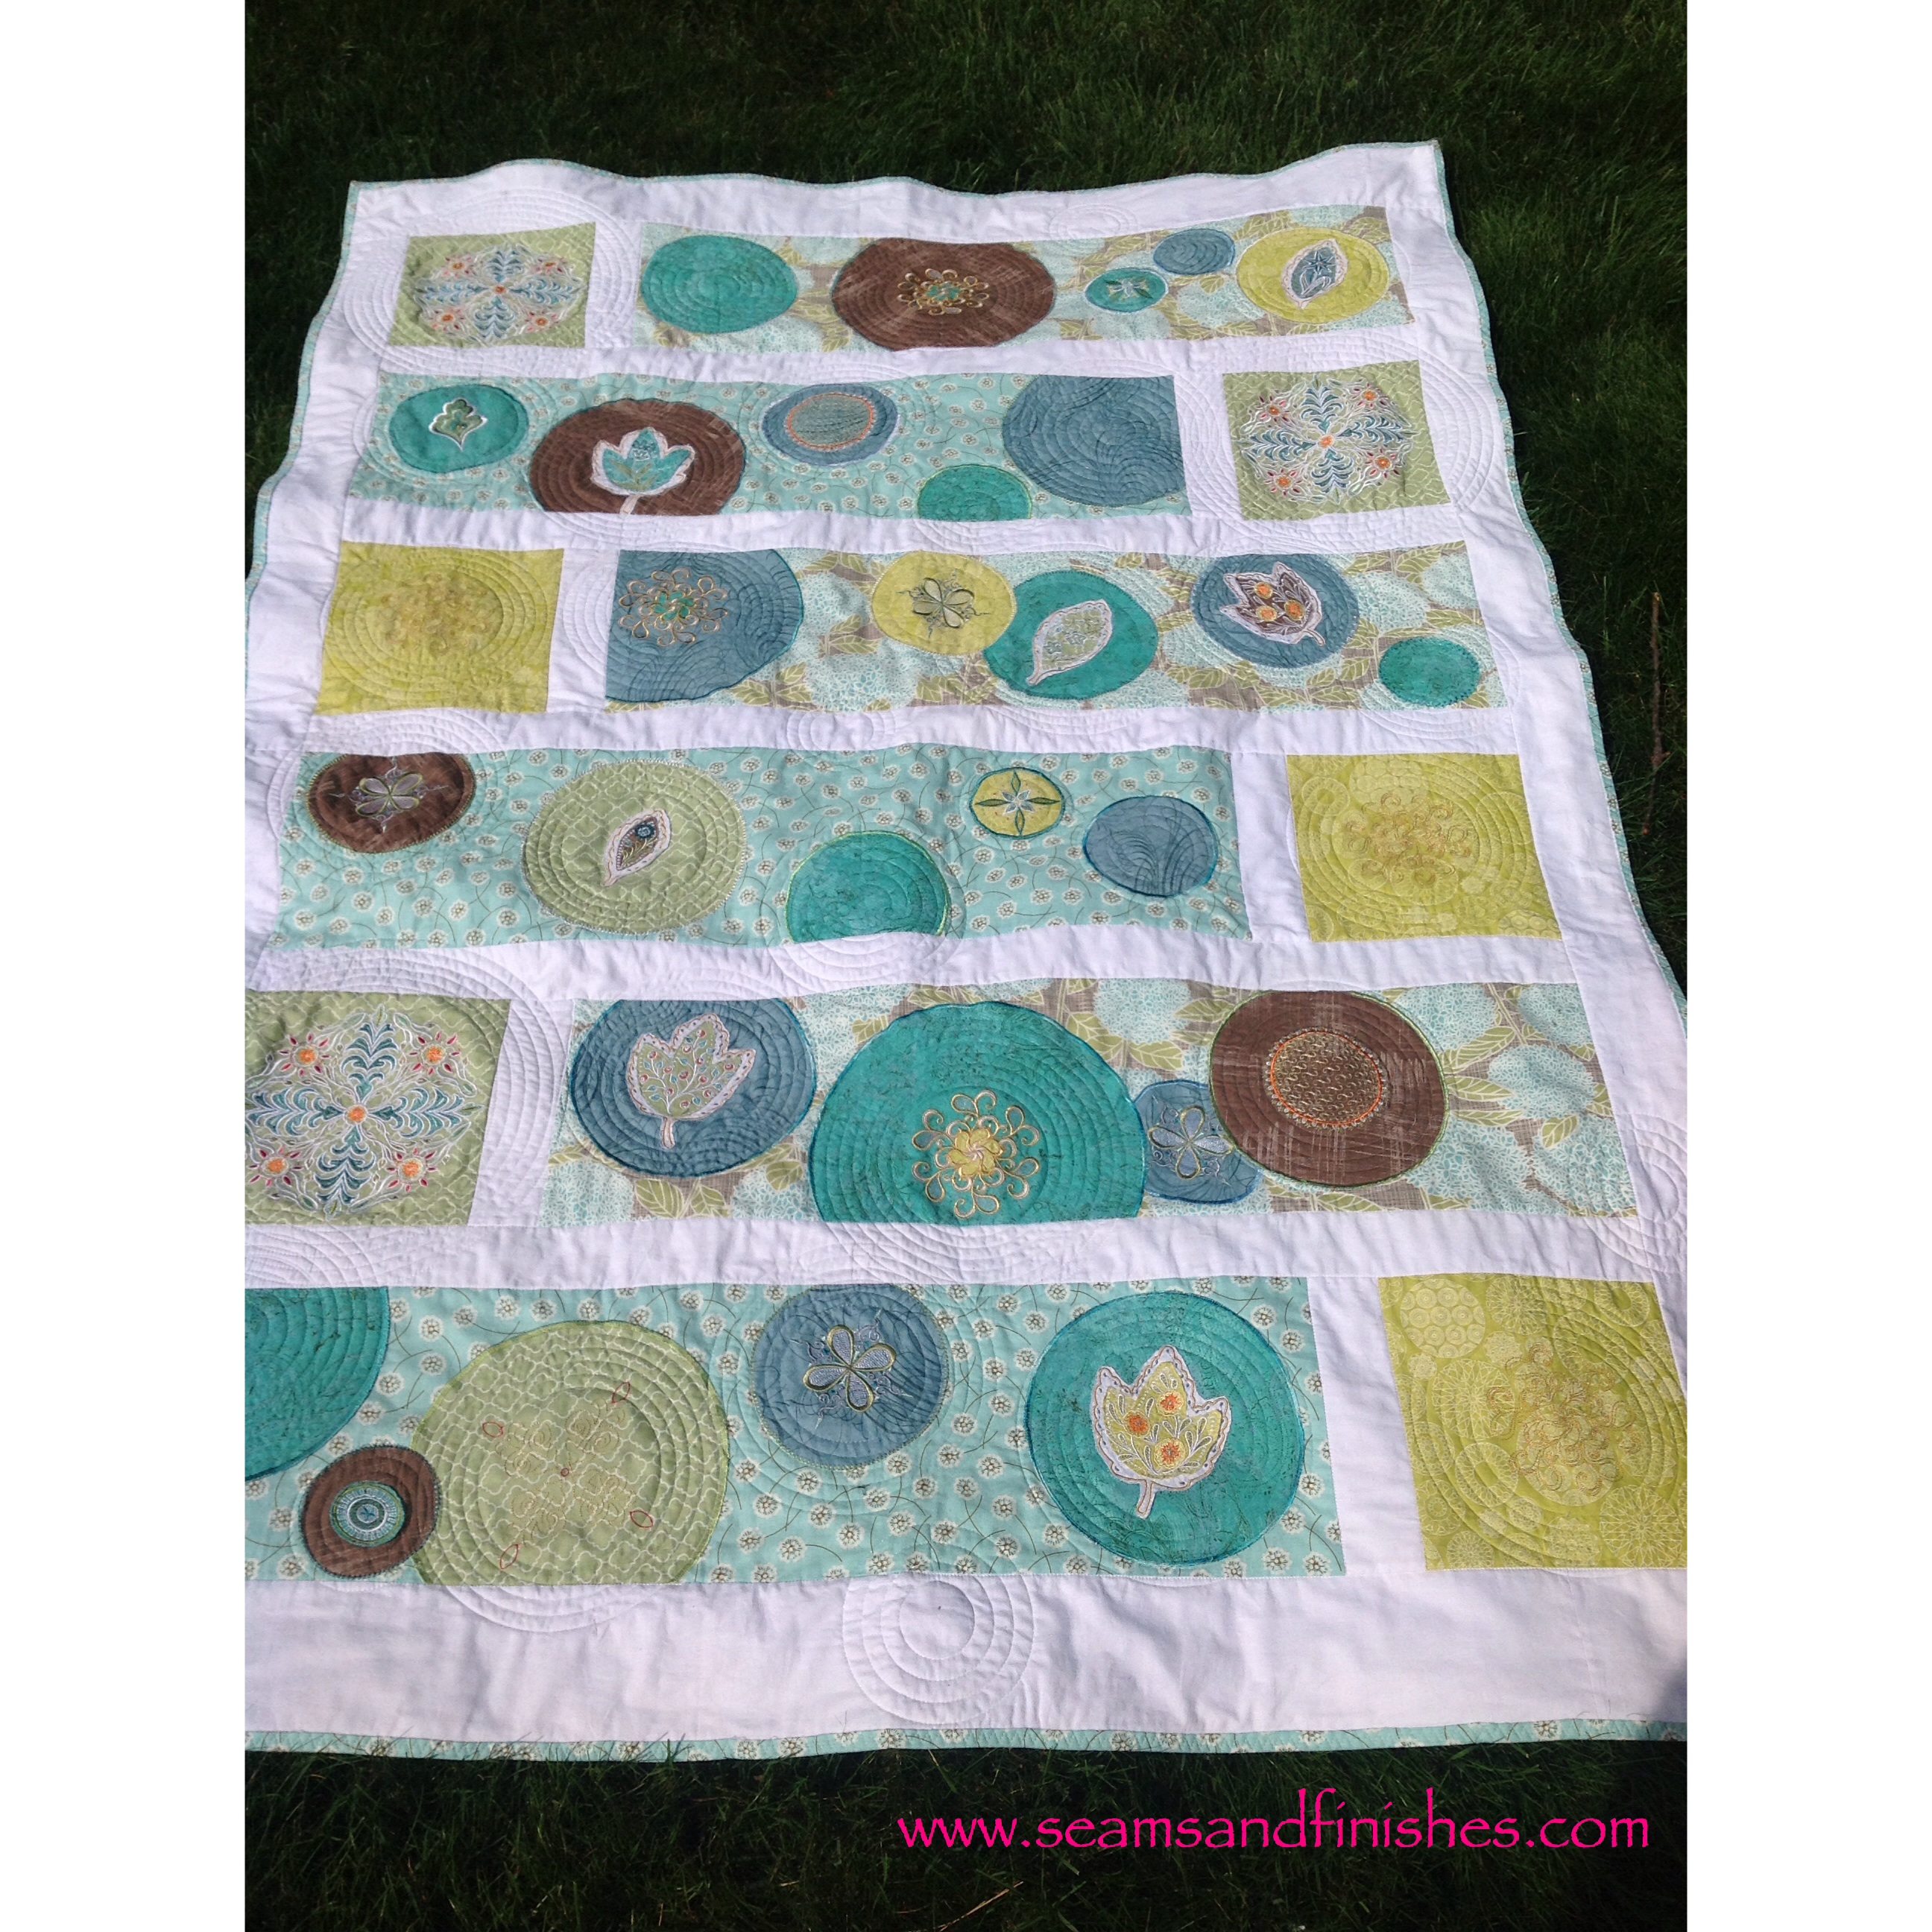
Next was deciding how to do the actual quilting.  I really liked and wanted to duplicate (if possible) the concentric circles that are seen in the original quilt and I knew that probably the only way for me to do that would be  by embroidery machine.  So I digitized a few concentric circles in my software for the quilting.

Digitized quilting
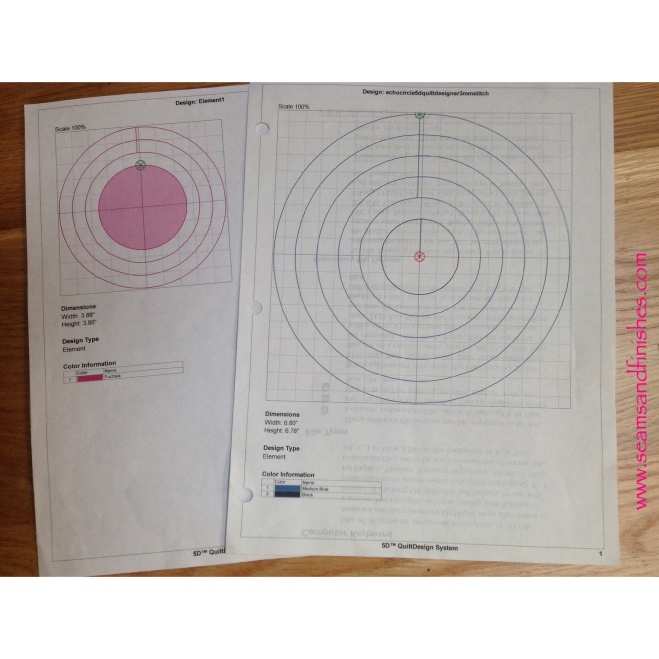
I used a 200x200mm hoop for all of the circles with the exception of the largest design which needed to be split for two hoopings in the 360×200 hoop.

Due to the size of the quilt (48×66″), I moved my machine to my cutting table so the weight of the quilt would be supported.

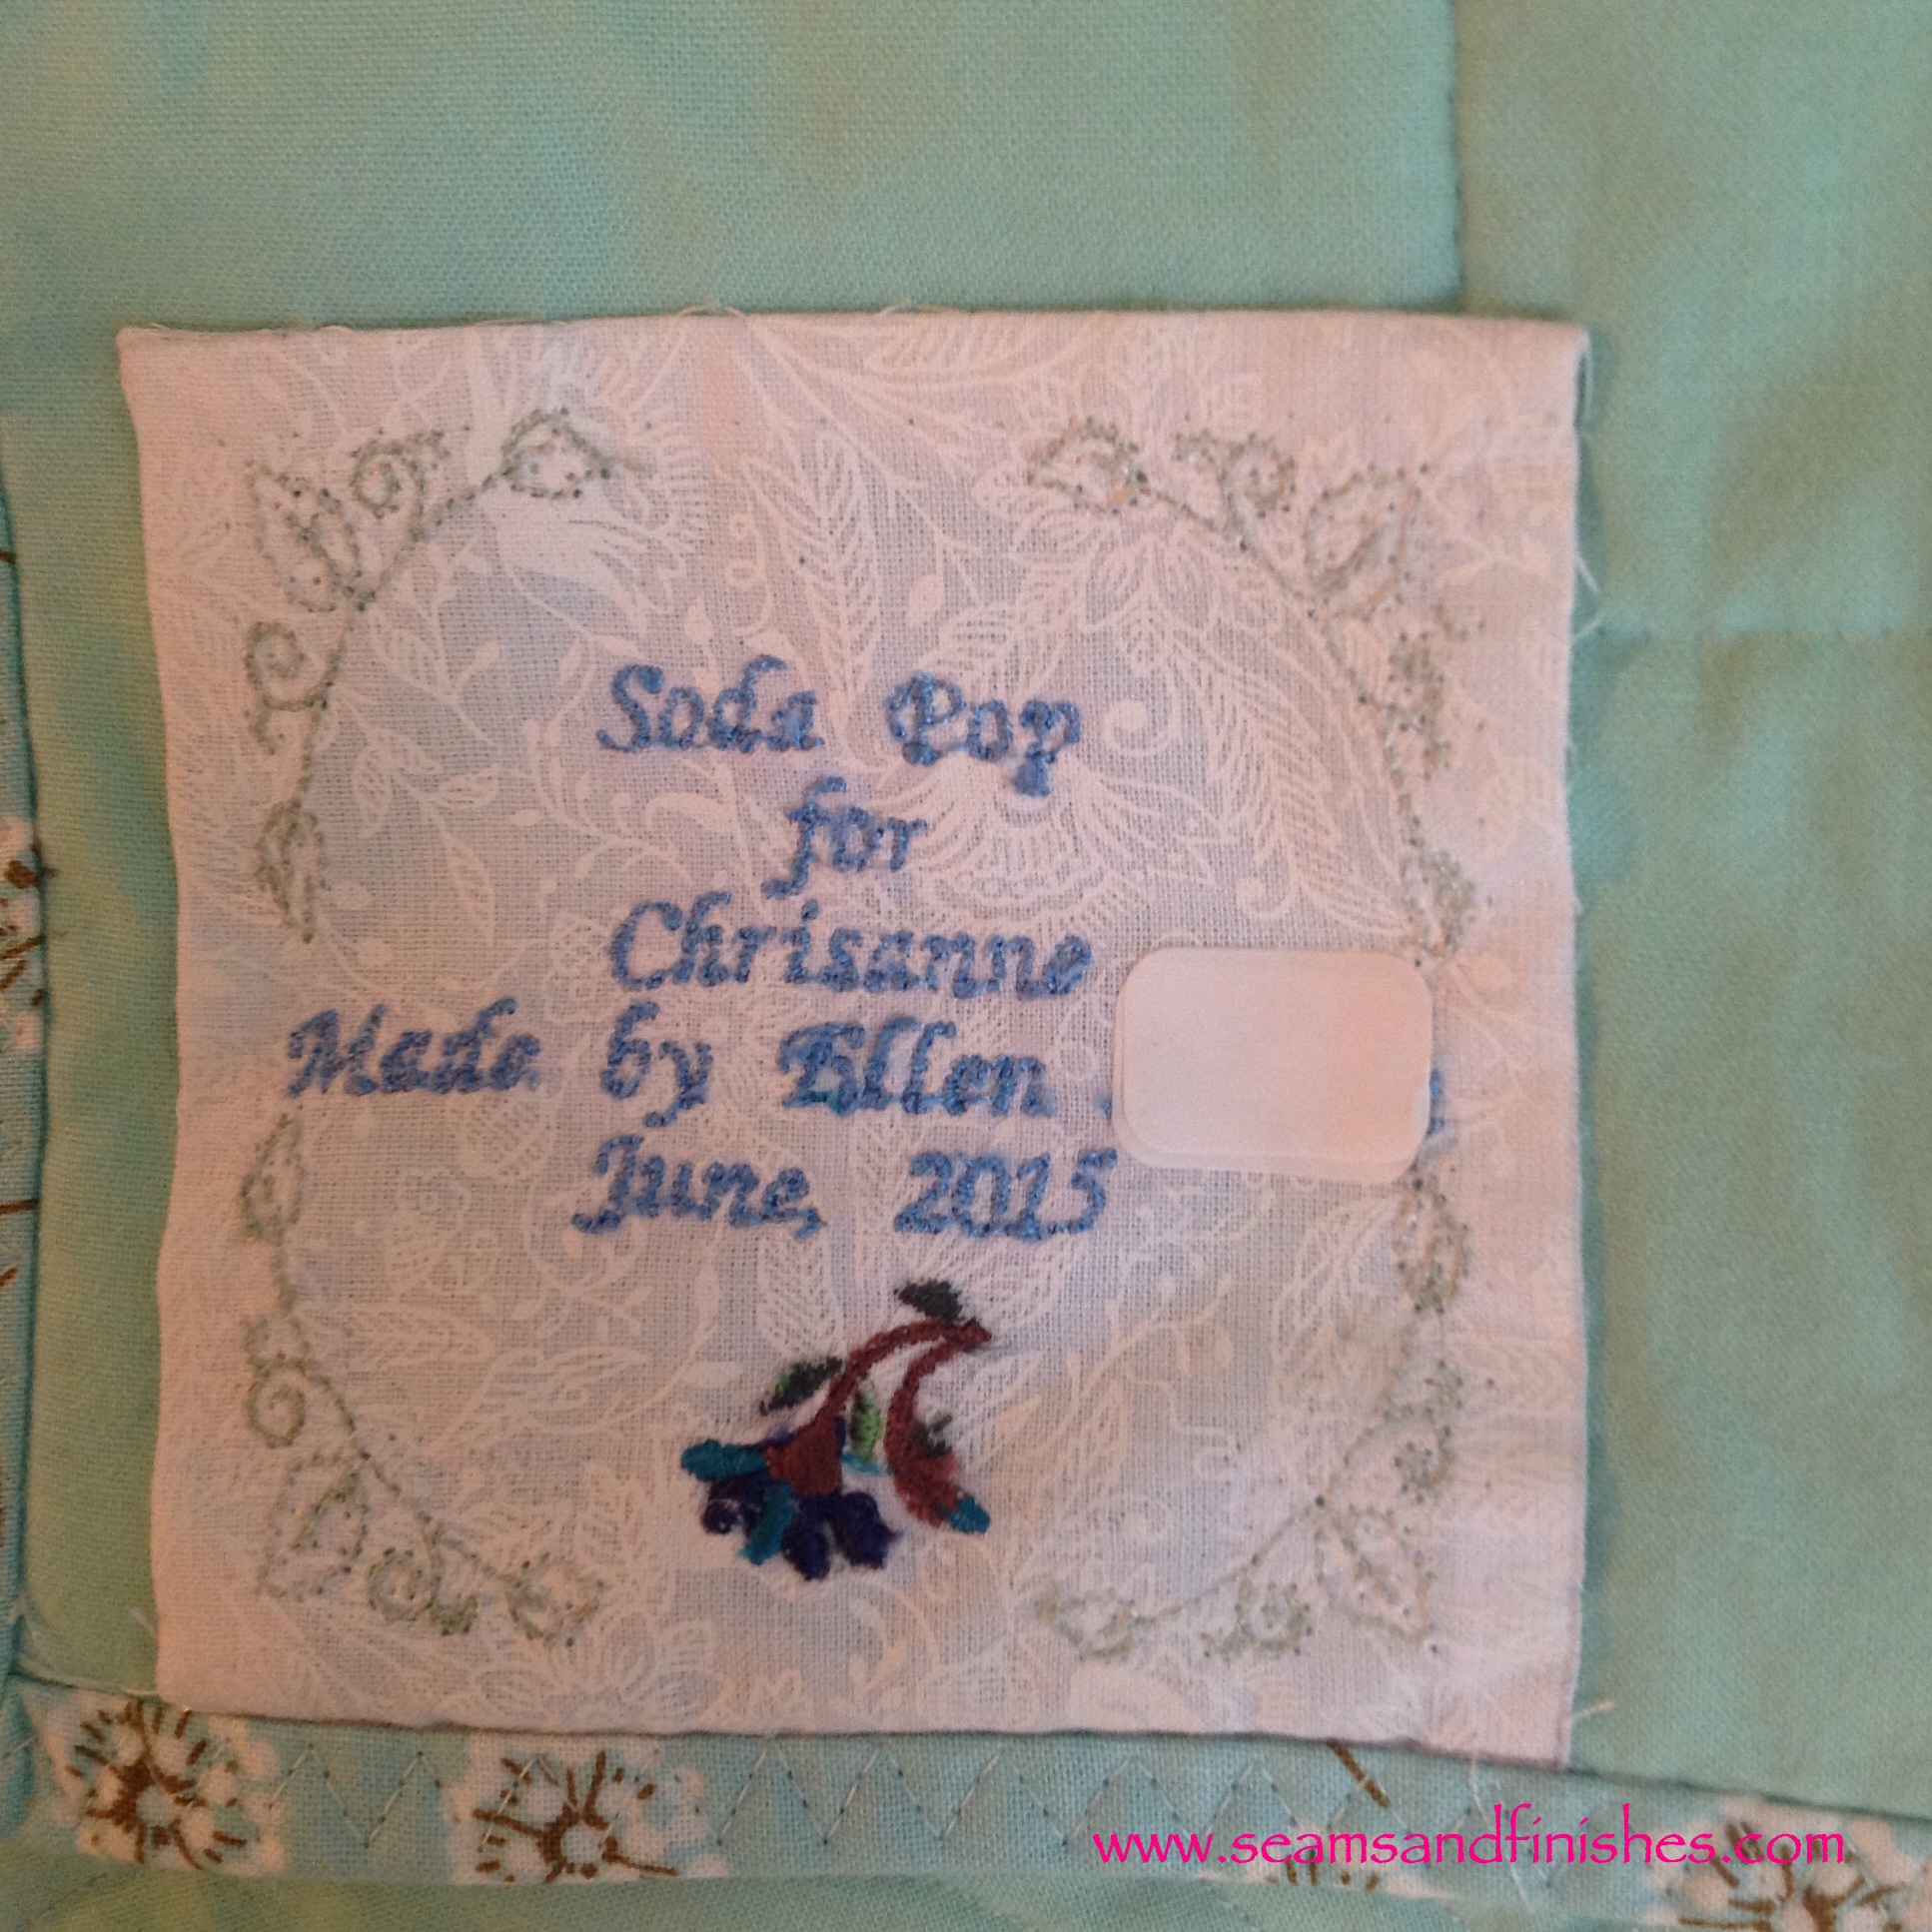
Working on this project was challenging at times, but it was a great learning experience.  I know that more experienced quilters talk about signing your quilt with your name & date .  So in that vein…

I even made a label.

Quilt Label

Cranberry Creativity

With Thanksgiving fast approaching, I have just completed these additions to a set of dinner napkins I made as a Christmas gift last year.

Cranberry wreath- Dancing Threads

Cranberry wreath Dancing Threads

This cranberry wreath design is one I fortunately picked up  from a site which is no longer available.  The digitizer, Dancing Threads now markets her designs here, but this design is not among her current collection.  I keep checking back, hoping to see any other “cranberry inspired” designs as they are perfect for gift-giving to friends involved in the cranberry industry!

And while we’re on the subject of cranberries and Thanksgiving, I thought I’d share a “traditional” favorite:

Cranberry nut bread

Classic Cranberry Nut Bread

Ingredients:

2 cups flour
1 cup sugar
1 1/2 teaspoons baking powder
1 teaspoon salt
1/2 teaspoon baking soda
3/4 cup orange juice
1 tablespoon grated orange peel
2 tablespoons shortening
1 egg, well beaten
1 1/2 cups Fresh or Frozen Cranberries, coarsely chopped
1/2 cup chopped nuts

Directions:

Preheat oven to 350ºF. Grease a 9 x 5-inch loaf pan.

Mix together flour, sugar, baking powder, salt and baking soda in a medium mixing bowl. Stir in orange juice, orange peel, shortening and egg. Mix until well blended. Stir in cranberries and nuts. Spread evenly in loaf pan.

Bake for 55 minutes or until a toothpick inserted in the center comes out clean. Cool on a rack for 15 minutes. Remove from pan; cool completely. Wrap and store overnight. Makes 1 loaf (16 slices).

PER SERVING (1 slice): Cal. 211, Fat Cal. 54, Protein 3grams, Carb. 37grams, Fat 6grams, Chol. 18mg., Sodium 313mg.

The recipe can be found here, along with many others…

Before I forget, you still have time to leave a comment on my last post if you would like to win some “crafty patterns” in the Craft Pattern Pyramid!

Namaste

My experience with yoga does not extend much beyond Wii Fit and similar DVD exercise routines (admittedly not practiced on a regular basis).

However, with all good intentions of exercising more during the winter months, I did something that is still referred to as: “I still can’t believe you did that!” Which is wait in line at Target (I was #3), before the store opened in the hopes of purchasing one of the 12 systems they had in stock.

Arriving at Target that early morning, I joined with a handful of other customers, most likely there to secure the scarce and coveted Wii.

At 7:00 AM, security guard and a store Associate promptly came to the door, and asked if we were there to purchase the Wii. When our intentions were confirmed, each of us were handed “Golden Tickets”and escorted as a group to the electronics counter to make our purchases. I was back home and my mission completed by 8:00AM! It was unknown that I had even left the house!

I’m leading up to the dramatic sewing part…

Based on the introduction to Yoga on the Wii, my daughter has been a regular practitioner of this exercise, attending a weekly class and often using a Yoga App or other online in-between.

As any machine embroiderer might know, any hobby, interest, affiliation or celebration is worthy to be championed by embroidered embellishment! So I just happened to find these Yoga Designs, and decided they would be *necessary* for my Embroidery Designs Collection.

A towel would be the ideal project for one of these designs! After all the pre-embroidery preparations, I was ready to get down to business at the machine. The first basting around the hoop/design was perfect and the first part of the design, the word “Namaste” was about to be stitched. About at the middle of the letter “m” the machine was very unhappy- noises, growls,- snap- needle breaks- re thread, re-start- things are sort of okay, but maybe not. The word was finished, it looked fine, so I continued through the color changes and completed the design. Flipped it over to see BIRD’S NEST behind Namaste. That will never fly. ( Didn’t mean the play on words, but it is none-the-less appropriate.)

The secret is never to unhoop until you are sure that the stitch-out is successful, so if you have to rip-out or “negatively stitch” something, you have a better chance of getting your design lined up properly.

Here is my design after ripping-out those stitches.

And here is the finished one

Ripping-out and re-doing is part of the sewing process. In fact, when the need arises, I find myself thinking about and planning the next steps in the project, etc. There is a mantra to this. I think it’s very “Zen”, sewing Zen.

Do you have a “Sewing Zen”?

Namaste