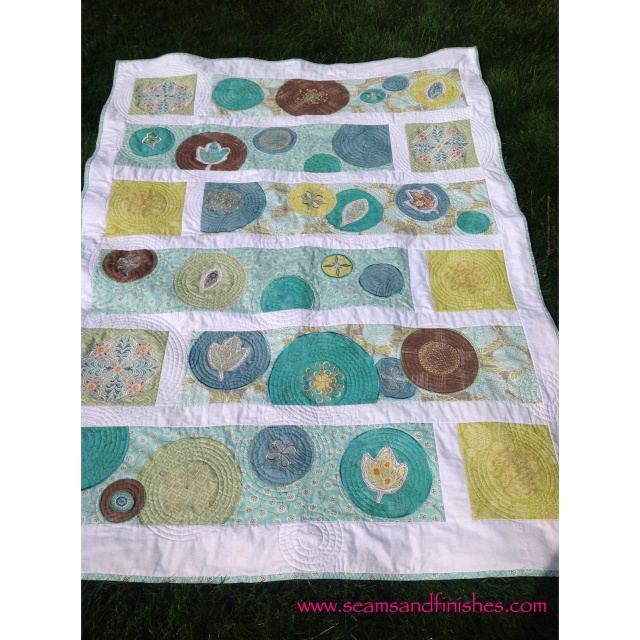
Let’s see…When we left off, I had just posted about our visit to the quilt exhibit at the MFA. Coincidentally, not long after, I received an e-mail announcing a new collection of embroidery designs, Modern Blossoms, coordinating with Amanda Murphy‘s Soda Pop Quilt pattern.
The scene was set. I ordered the designs, and soon set out to locate the pattern in a nearby shop. It turned-out to be a very successful shopping trip and included picking up some of the fabrics for the project! I was excited to get started but was in the midst of a Christmas quilt gifted to me last year that I wanted to complete for the holiday season.
So, after Christmas I finally got started.
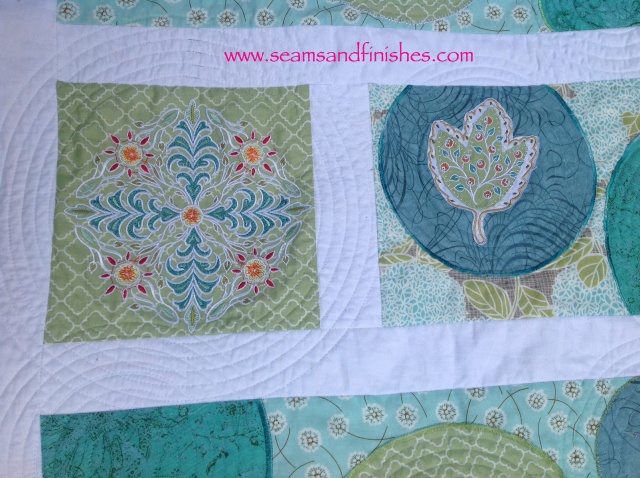
When the first design (seen on the left) was loaded into the machine, it told me the stitching time for that design would be 2 hours. The leaf on the right is an applique with embroidery used to tack it down and embellish on top. In total, I think there are 25-30 different designs that I chose to use, but the stitch-out time for each design varied.
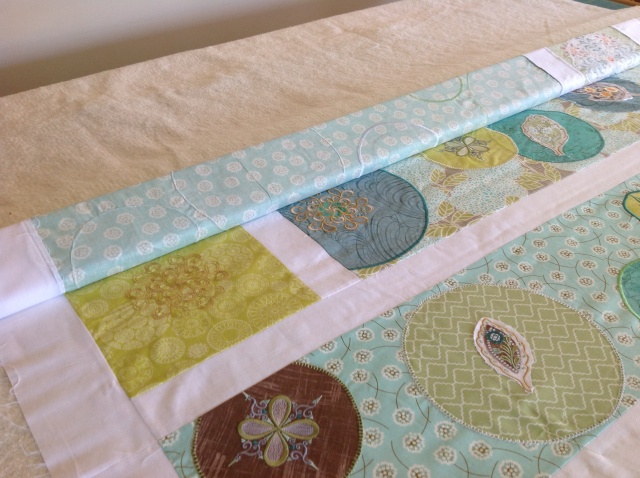
Once the the embroidery was done, and the quilt top completed, I had to figure-out a way to layer this quilt, keeping the layers flat. To be honest, this is the largest and most complex quilt I’ve ever made so there’s lot of material to contend with!
Problem solved through a YouTube video where Sharon Schambler demonstrates just how to do this!
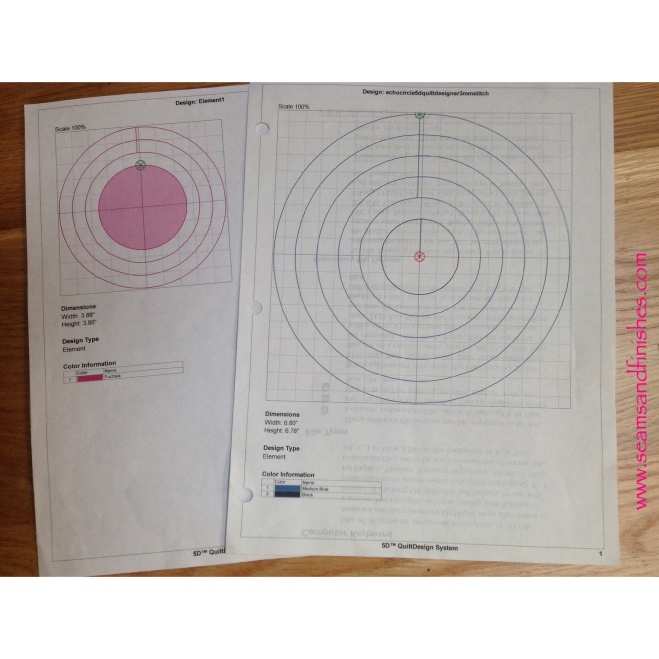
Next was deciding how to do the actual quilting. I really liked and wanted to duplicate (if possible) the concentric circles that are seen in the original quilt and I knew that probably the only way for me to do that would be by embroidery machine. So I digitized a few concentric circles in my software for the quilting.
 I used a 200x200mm hoop for all of the circles with the exception of the largest design which needed to be split for two hoopings in the 360×200 hoop.
Due to the size of the quilt (48×66″), I moved my machine to my cutting table so the weight of the quilt would be supported.
Working on this project was challenging at times, but it was a great learning experience. I know that more experienced quilters talk about signing your quilt with your name & date . So in that vein…
I even made a label.


