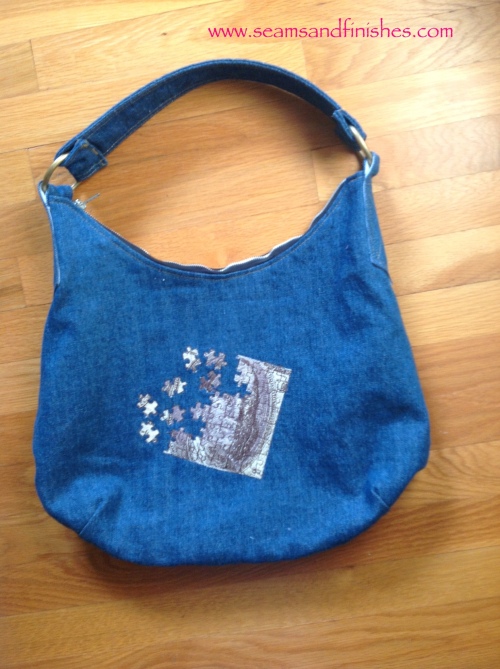
Hi Everyone! The weather here is finally warm enough to consider taking pictures outside and showing off what I have been working on- my adaptation of the Presidio Purse!
In case you missed it, Seamstress Erin has just finished a sew along of her latest pattern, the Presidio Purse.The bag is very generous in size and not difficult to construct, but after making my first one, I really wanted something that was more on a smaller scale for everyday use. So… I set to work…
The first thing I did was to measure and compare the sizes of bags I already have. That “research” revealed that most bags I have were an average of 1 3/4 inches shorter than the Presidio Purse. Not really that much of a difference, but I still felt that the size was not right for me.
With that information, I started to modify the pattern by overlapping the bottom portion of the pattern by that 1 3/4 inches. Then I made some adjustments to the combined side/bottom piece and created a muslin. I knew right away that this was not the “look” I was going for, either. There was still something that was “too big” but progress was being made!
Then I decided maybe I could eliminate the side/bottom piece altogether and create depth to the purse by adding darts! Ding ding ding…We have a winner!
Here you can see the pattern changes in order:
Overlap the bottom portion of the front/back pierce 1 3/4″ and shorten the bottom portion of the zipper pocket piece by the same amount. (I just folded it under). The darts are 1″ long with a total take-up for each dart at 1 1/2″.
On the front & backI used a woven fusible interfacing and also on the following lining pieces:
- 1 lower zipper pocket piece
- 2 handles
- 2 handle anchors
- small pocket piece*
* I cut the small pocket on the fold, interfaced half of it and sewed it right sides together, leaving an opening to turn right sides out. (No raw edges ).
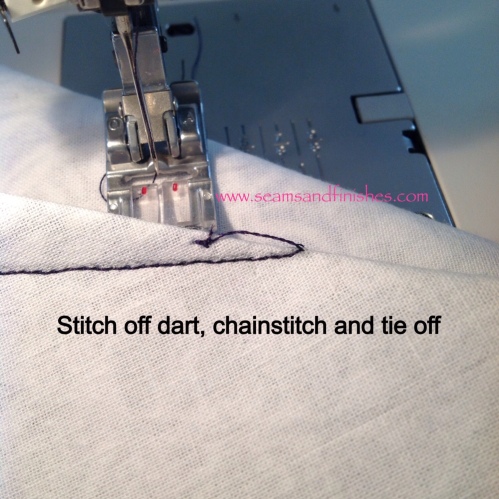
A close-up of sewing the darts: To eliminate the dimple at the point of a dart, stitch off the point and continue stitching a thread chain. Lift your presser foot an re-position the needle within the dart fold and tie-off.
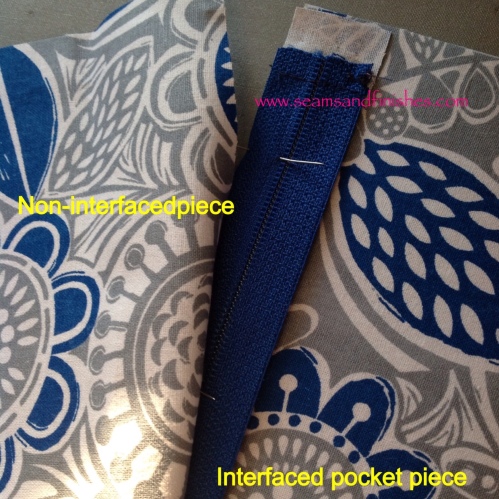
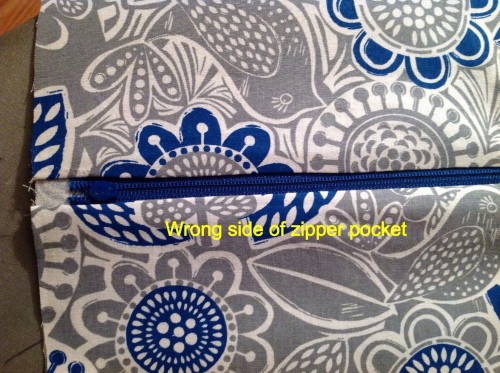
Sandwich the zipper between the 2 lower large pocket pieces, having the one with the interfacing on the bottom. Repeat with the remaining top pocket pieces and neither of these pieces is interfaced. (This is the same technique used for inserting the main zipper in the Presidio Purse.)
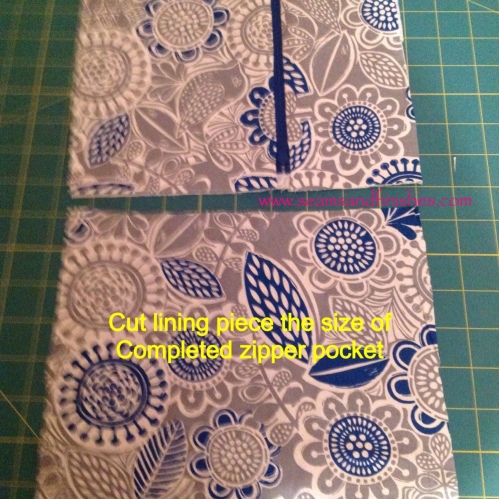
Cut pocket lining the same size as completed zipper pocket.
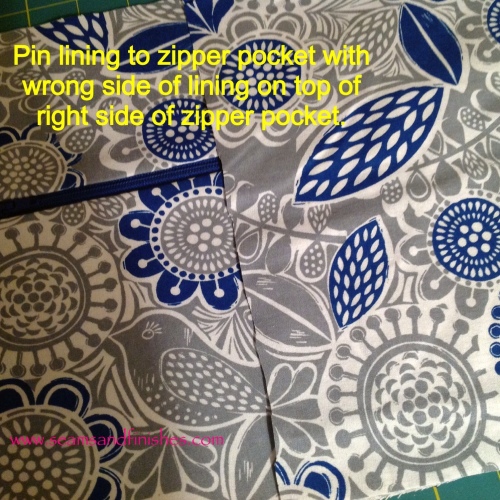
Place WRONG side of this piece on top the right side of the zipper pocket. Stitch together with 1/4″ seam on 3 sides, leaving top open. Trim corners & turn to right side & press. When this pocket assembly is stitched to the lining with 1/4″ seam, there will be no raw edges inside, and the right side of the lining is visible when you unzip the pocket!
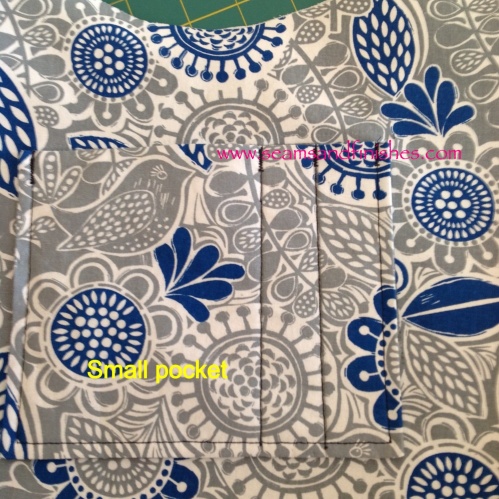
Small pocket stitched to lining (reinforced with bar tacks).
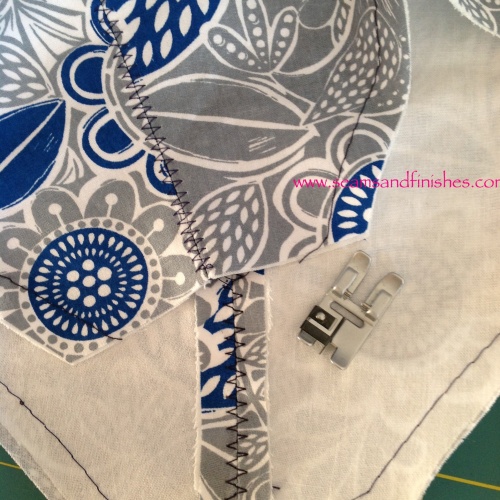
Once the pockets were stitched to the front & back lining pieces, it was time to stitch the front & back together. After doing this, I pressed the seams open and used a 2-step zig-zag stitch along the seam to keep it open.
Now, onto the bag, itself! I was able to find some 10 oz. wt denim at Joann's and that was perfect, because I wanted to make this bag very casual and do some machine embroidery on the front! (I'll get to that, shortly!)
Embroidery done and bag assembled, here are a few details:
- Top stitched the seam using a 6.0/100 needle with regular thread. I have not had a great deal of luck using top-stitching thread in the past. If you like more definition, you can thread the needles with two of the same weight thread to get a slightly thicker appearance or use 2 different colors in the same needle for an even different look!
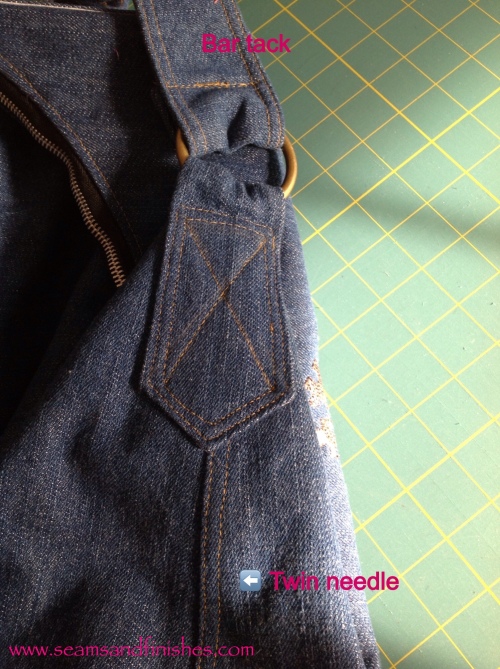
- For top stitching handle & anchors and construction, a jeans/denim size 100 needle was used.
- Bar tacks were added on the handle after I attached it to the ring for extra security, and it goes along with a jeans style!
- The 2″ rings were ordered from Pacific Trimming.
Here is the finished bag!
The design is from “Worth Every Penny”, a collection found here.
And here is the bag in action!


