Soda Pop!

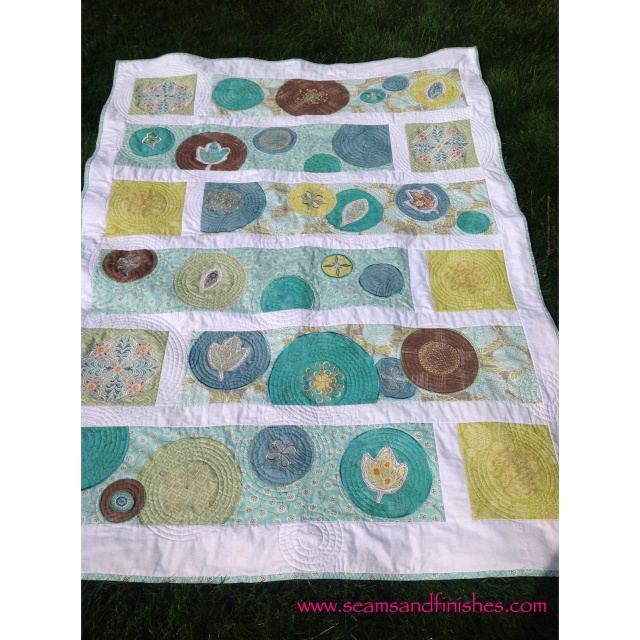
Let’s see…When we left off, I had just posted about our visit to  the quilt exhibit at the MFA.  Coincidentally, not long after, I received an e-mail announcing a new collection of embroidery designs, Modern Blossoms, coordinating with  Amanda Murphy‘s Soda Pop Quilt pattern.

Amanda Murphy Soda Pop Quilt

The scene was set.  I ordered the designs, and soon set out to locate the pattern in a nearby shop. It turned-out to be a  very successful shopping trip and included picking up some of the fabrics for the project!  I was excited to get started but was in the midst of a Christmas quilt gifted to me last year that I wanted to complete for the holiday season.

So, after Christmas I finally got started.

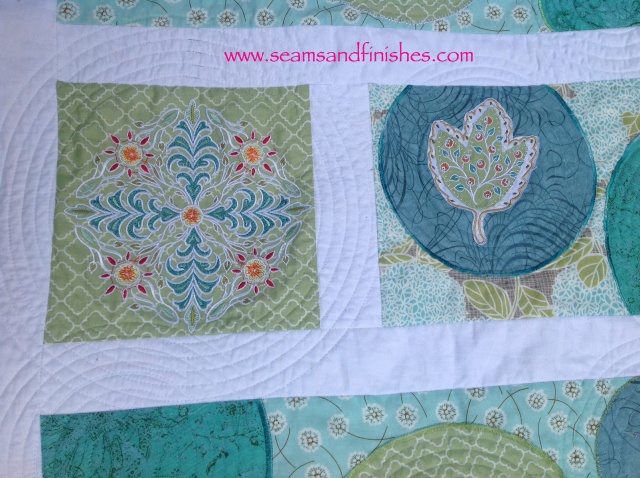
Modern Blossoms Designs

When the first design (seen on the left) was loaded into the machine, it told me the stitching time for that design would be 2 hours.  The leaf on the right is an applique with embroidery used to tack it down and embellish on top.  In total, I think there are 25-30 different designs that I chose to use, but the stitch-out time for each design varied.

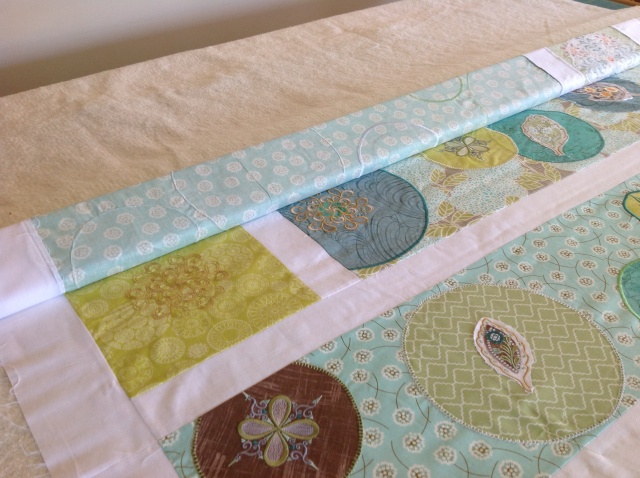
Once the the embroidery was done, and the quilt top completed, I had to figure-out a way to layer this quilt, keeping the layers flat.  To be honest, this is the largest and most complex quilt I’ve ever made so there’s lot of material to contend with!

Problem solved through a YouTube video where Sharon Schambler demonstrates just how to do this!

image

Next was deciding how to do the actual quilting.  I really liked and wanted to duplicate (if possible) the concentric circles that are seen in the original quilt and I knew that probably the only way for me to do that would be  by embroidery machine.  So I digitized a few concentric circles in my software for the quilting.
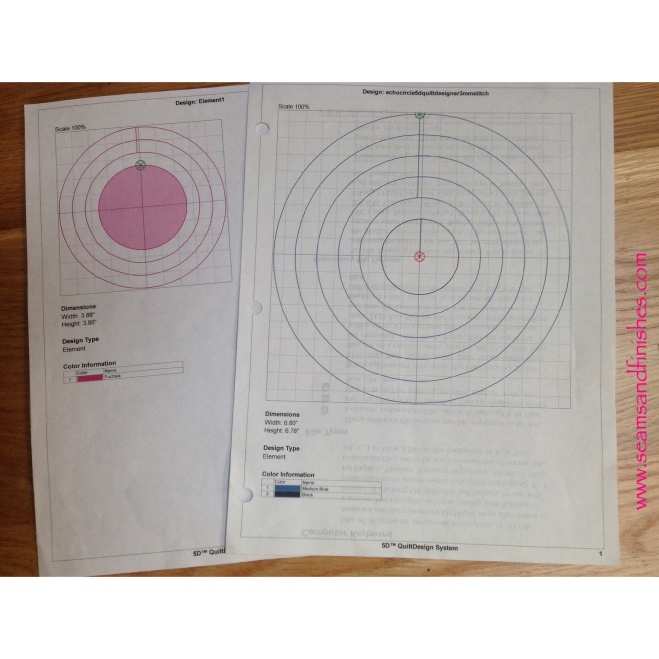
Digitized quiltingI used a 200x200mm hoop for all of the circles with the exception of the largest design which needed to be split for two hoopings in the 360×200 hoop.

Due to the size of the quilt (48×66″), I moved my machine to my cutting table so the weight of the quilt would be supported.

Working on this project was challenging at times, but it was a great learning experience.  I know that more experienced quilters talk about signing your quilt with your name & date .  So in that vein…

I even made a label.
Quilt Label

An Irish Blessing!

As you probably know, Boston is home to people of many nationalities and cultures. But as an old Irishman once said, “On St. Paddy’s Day there are two kinds of people: the Irish and those that wish they were!”

Perhaps not the most “politically correct” statement to be made, but in the spirit of celebration- everyone can enjoy a good time, regardless of your ethnicity or beliefs.

If you live in Suffolk County, March 17 is also a legal holiday- Evacuation Day, marking the day in 1776 when the British left Boston Harbor during the Revolutionary War.

The big South Boston parade (which I have never attended) was on the 16th, but the St. Patrick’s celebrating apparently started early on the week-end.!  We had tickets for the Boston Ballet performance of Cinderella (which was awesome, btw) on Saturday night so decided to have dinner at Quincy Market before the show. Already,there were many revelers dressed in all shades of green gathering in groups or standing in lines to enter the various restaurants and bars. Lots of spirit and fun was evident, and the evening had not yet begun!

A few hours later, on our train ride home we seemed to be in the “party car” with some “celebrants” singing and attempting to dance ??? at 60mph???  They were enjoying themselves!

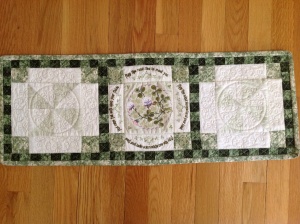
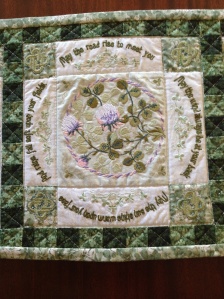
Now, onto other things!  How about this table runner made from San Francisco Stitch  Company?  Irish table runnerThis was such a fun project and I’m thrilled with how it turned out.  All of the embroidery and quilting is done “in the hoop” by machine.Irish Runner

I think this table runner will be lingering on my table for a while longer, too.Irish Blessing

Christmas Ornament Exchange

You may have noticed that some of the sewing bloggers you read have been exchanging handmade Christmas ornaments and posting tutorials demonstrating how to make them too!

Well, thanks to Kelli of True Bias, more bloggers (like myself) were given the opportunity to sign-up to participate in this activity as well.

I submitted my name as a participant, and decided that my handmade ornament would be to make lace snowflakes!  The bonus here is that you can either hang them on your Christmas tree, or enjoy them in a window throughout the winter season!

if you are not familiar with machine embroidery, these snowflakes are known as FSL, or Freestanding Lace.  I purchased these particular designs from Snowlady Designs but there are many other vendors of lace designs.

After downloading the design to my computer software, I duplicated the design as many times as I could fit into my hoop and then transferred that to my machine.

Here is a print-out of the snowflakes as they will be stitched.

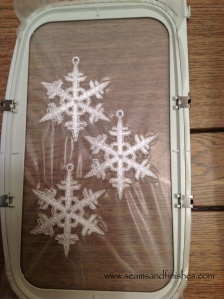
Next, I hooped a thick water-soluble stabilizer, pressed the “start” button and watched them stitch!

image

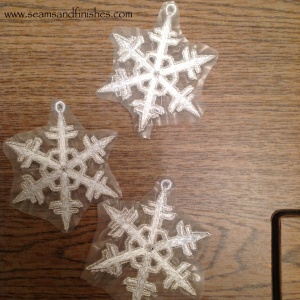
Once they are done, unhoop and trim around each snowflake before soaking the snowflakes in water to dissolve the stabilizer.

image

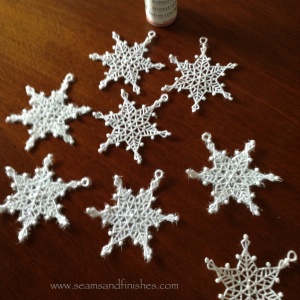
When they are dry, I like to give them just a touch of white glitter paint! (Sometimes a little more than a touch!)

Here are the finished snowflakes I made for the exchange:

image

And here are three different ones that I just made from the same designer.

image

My mailbox has brought me some delightful handcrafted Christmas ornaments over the past few days and introduced me to some talented and creative bloggers whom I might otherwise not found.

I hope you have a moment to stop by and enjoy these lovely blogs too!

http://nutta.typepad.com/

http://seemore-dreammore.blogspot.com

http://bonnechanceblogspot.blogspot.com

http://www.dandeliondrift.com

<a href=”http://www.bloglovin.com/blog/10328877/?claim=wqw2fjdcgu3″>Follow my blog with Bloglovin</a>