Christmas Ornament Exchange

You may have noticed that some of the sewing bloggers you read have been exchanging handmade Christmas ornaments and posting tutorials demonstrating how to make them too!

Well, thanks to Kelli of True Bias, more bloggers (like myself) were given the opportunity to sign-up to participate in this activity as well.

I submitted my name as a participant, and decided that my handmade ornament would be to make lace snowflakes!  The bonus here is that you can either hang them on your Christmas tree, or enjoy them in a window throughout the winter season!

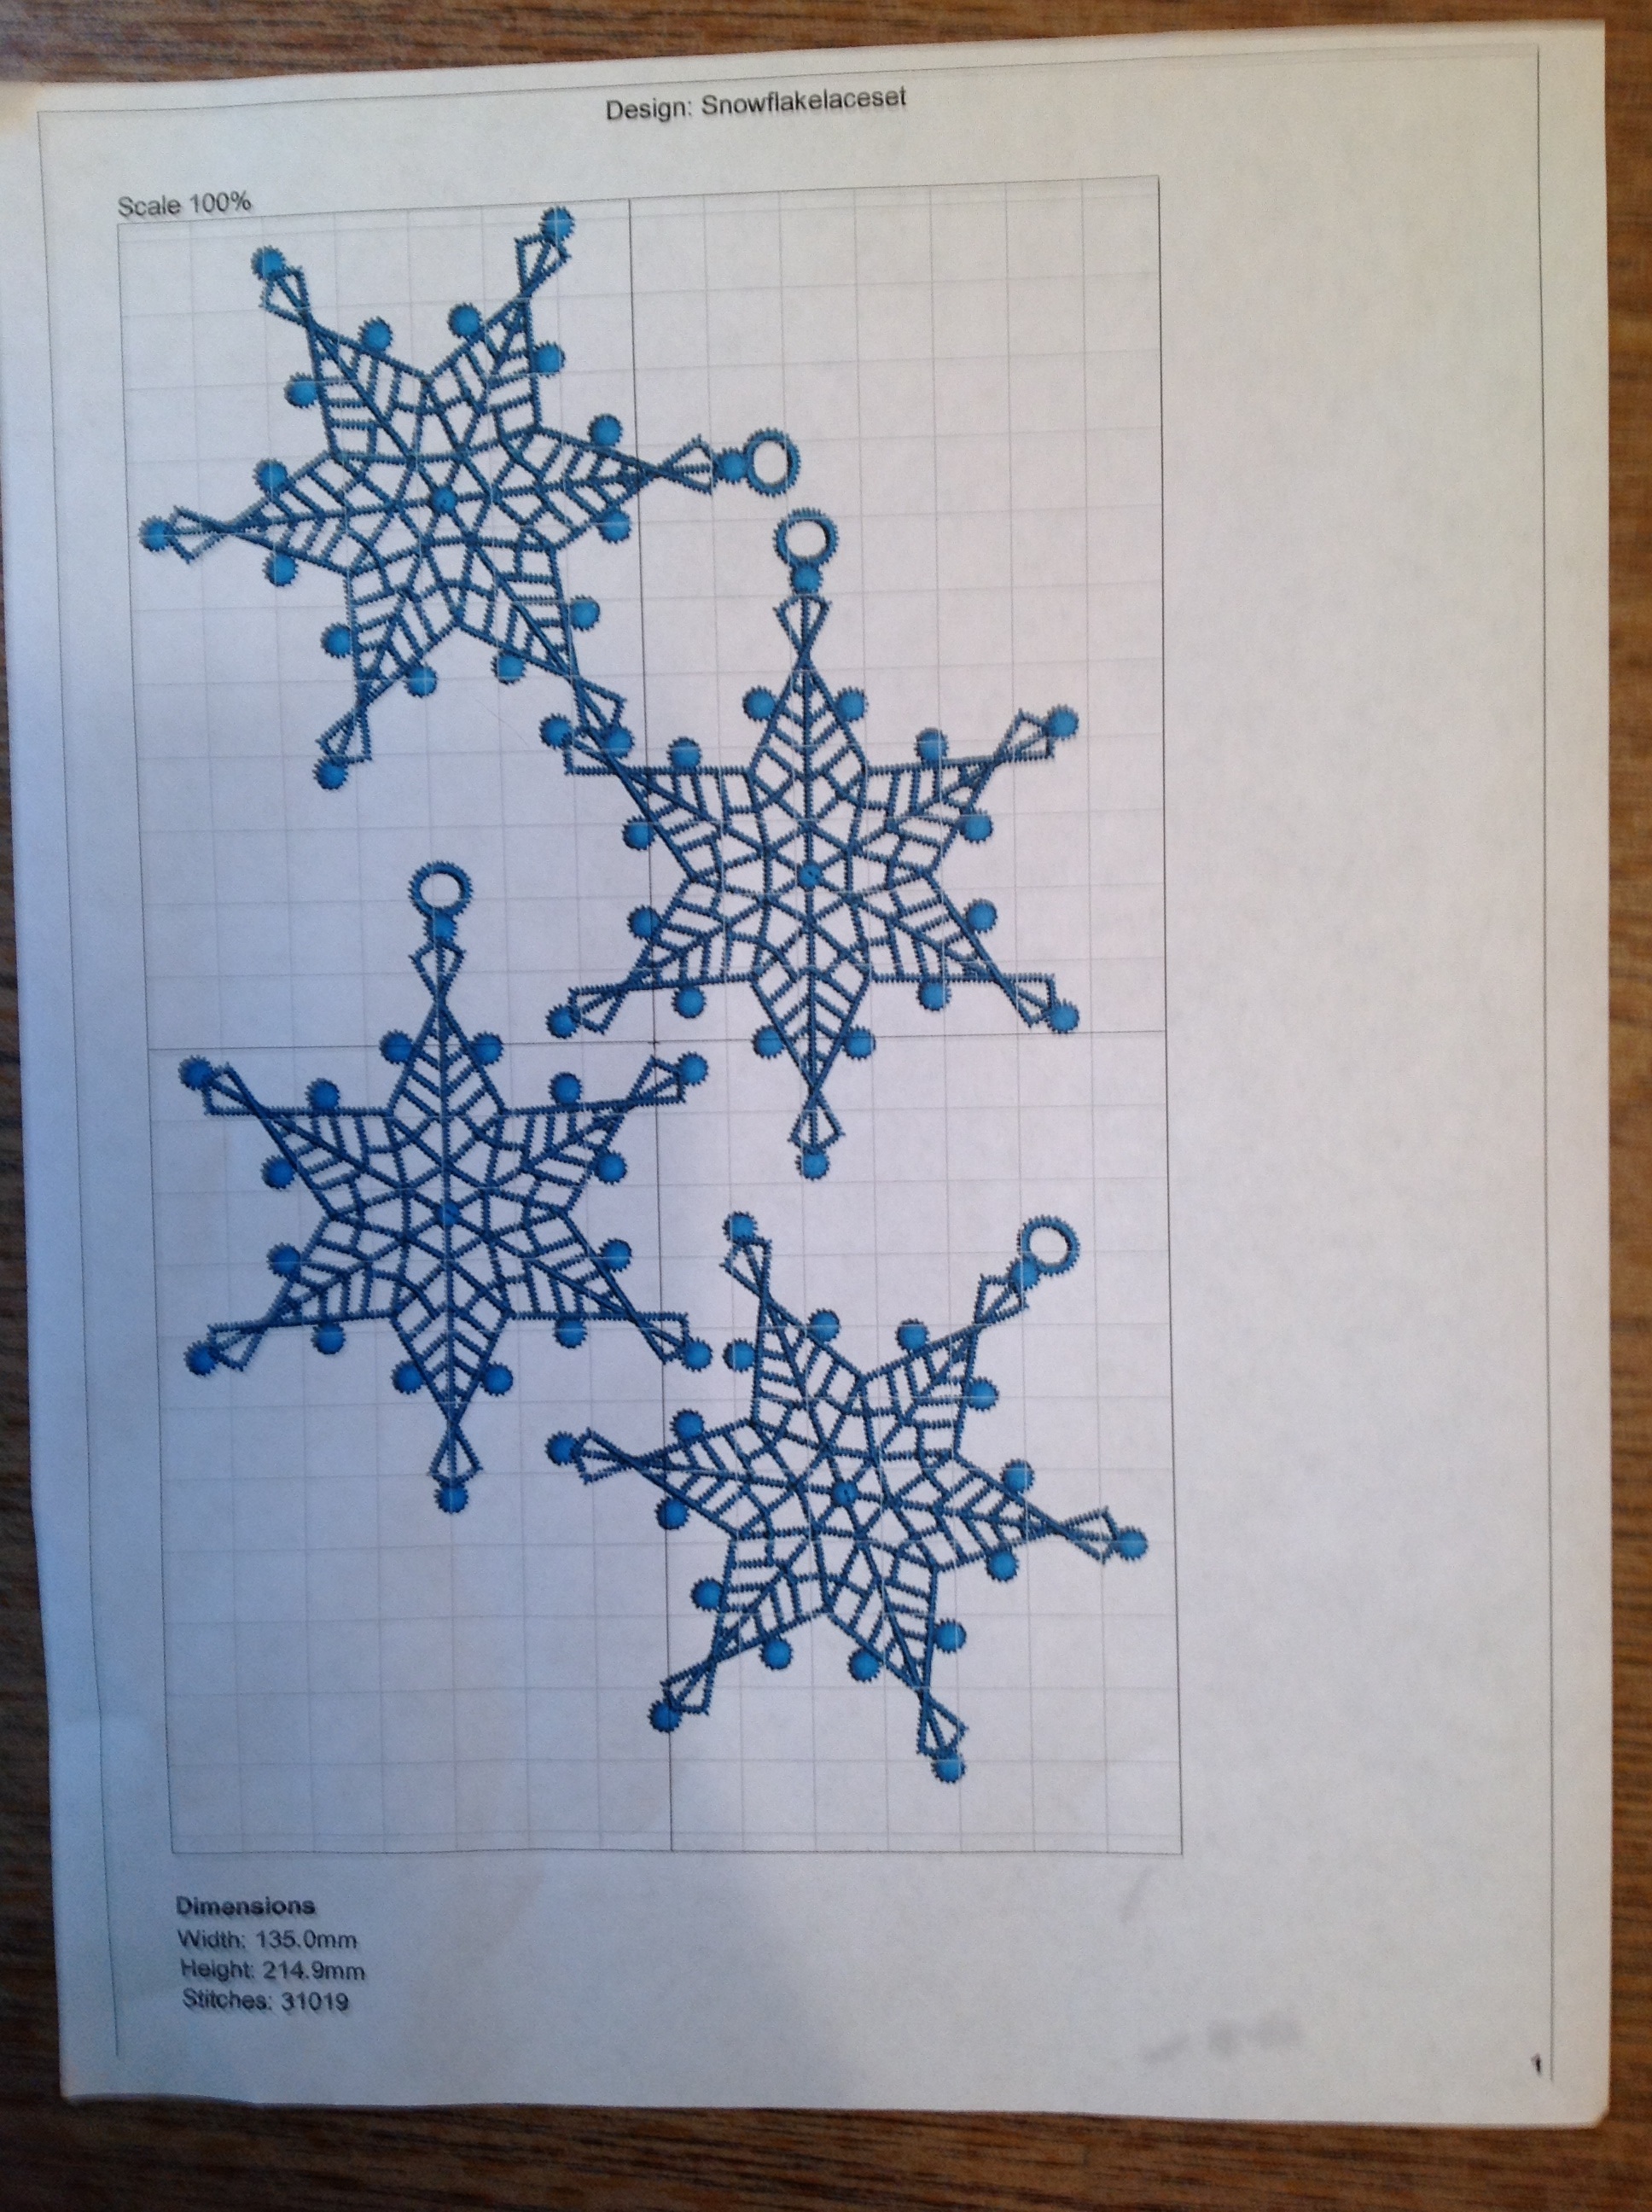
if you are not familiar with machine embroidery, these snowflakes are known as FSL, or Freestanding Lace.  I purchased these particular designs from Snowlady Designs but there are many other vendors of lace designs.

After downloading the design to my computer software, I duplicated the design as many times as I could fit into my hoop and then transferred that to my machine.

Here is a print-out of the snowflakes as they will be stitched.

Next, I hooped a thick water-soluble stabilizer, pressed the “start” button and watched them stitch!

image

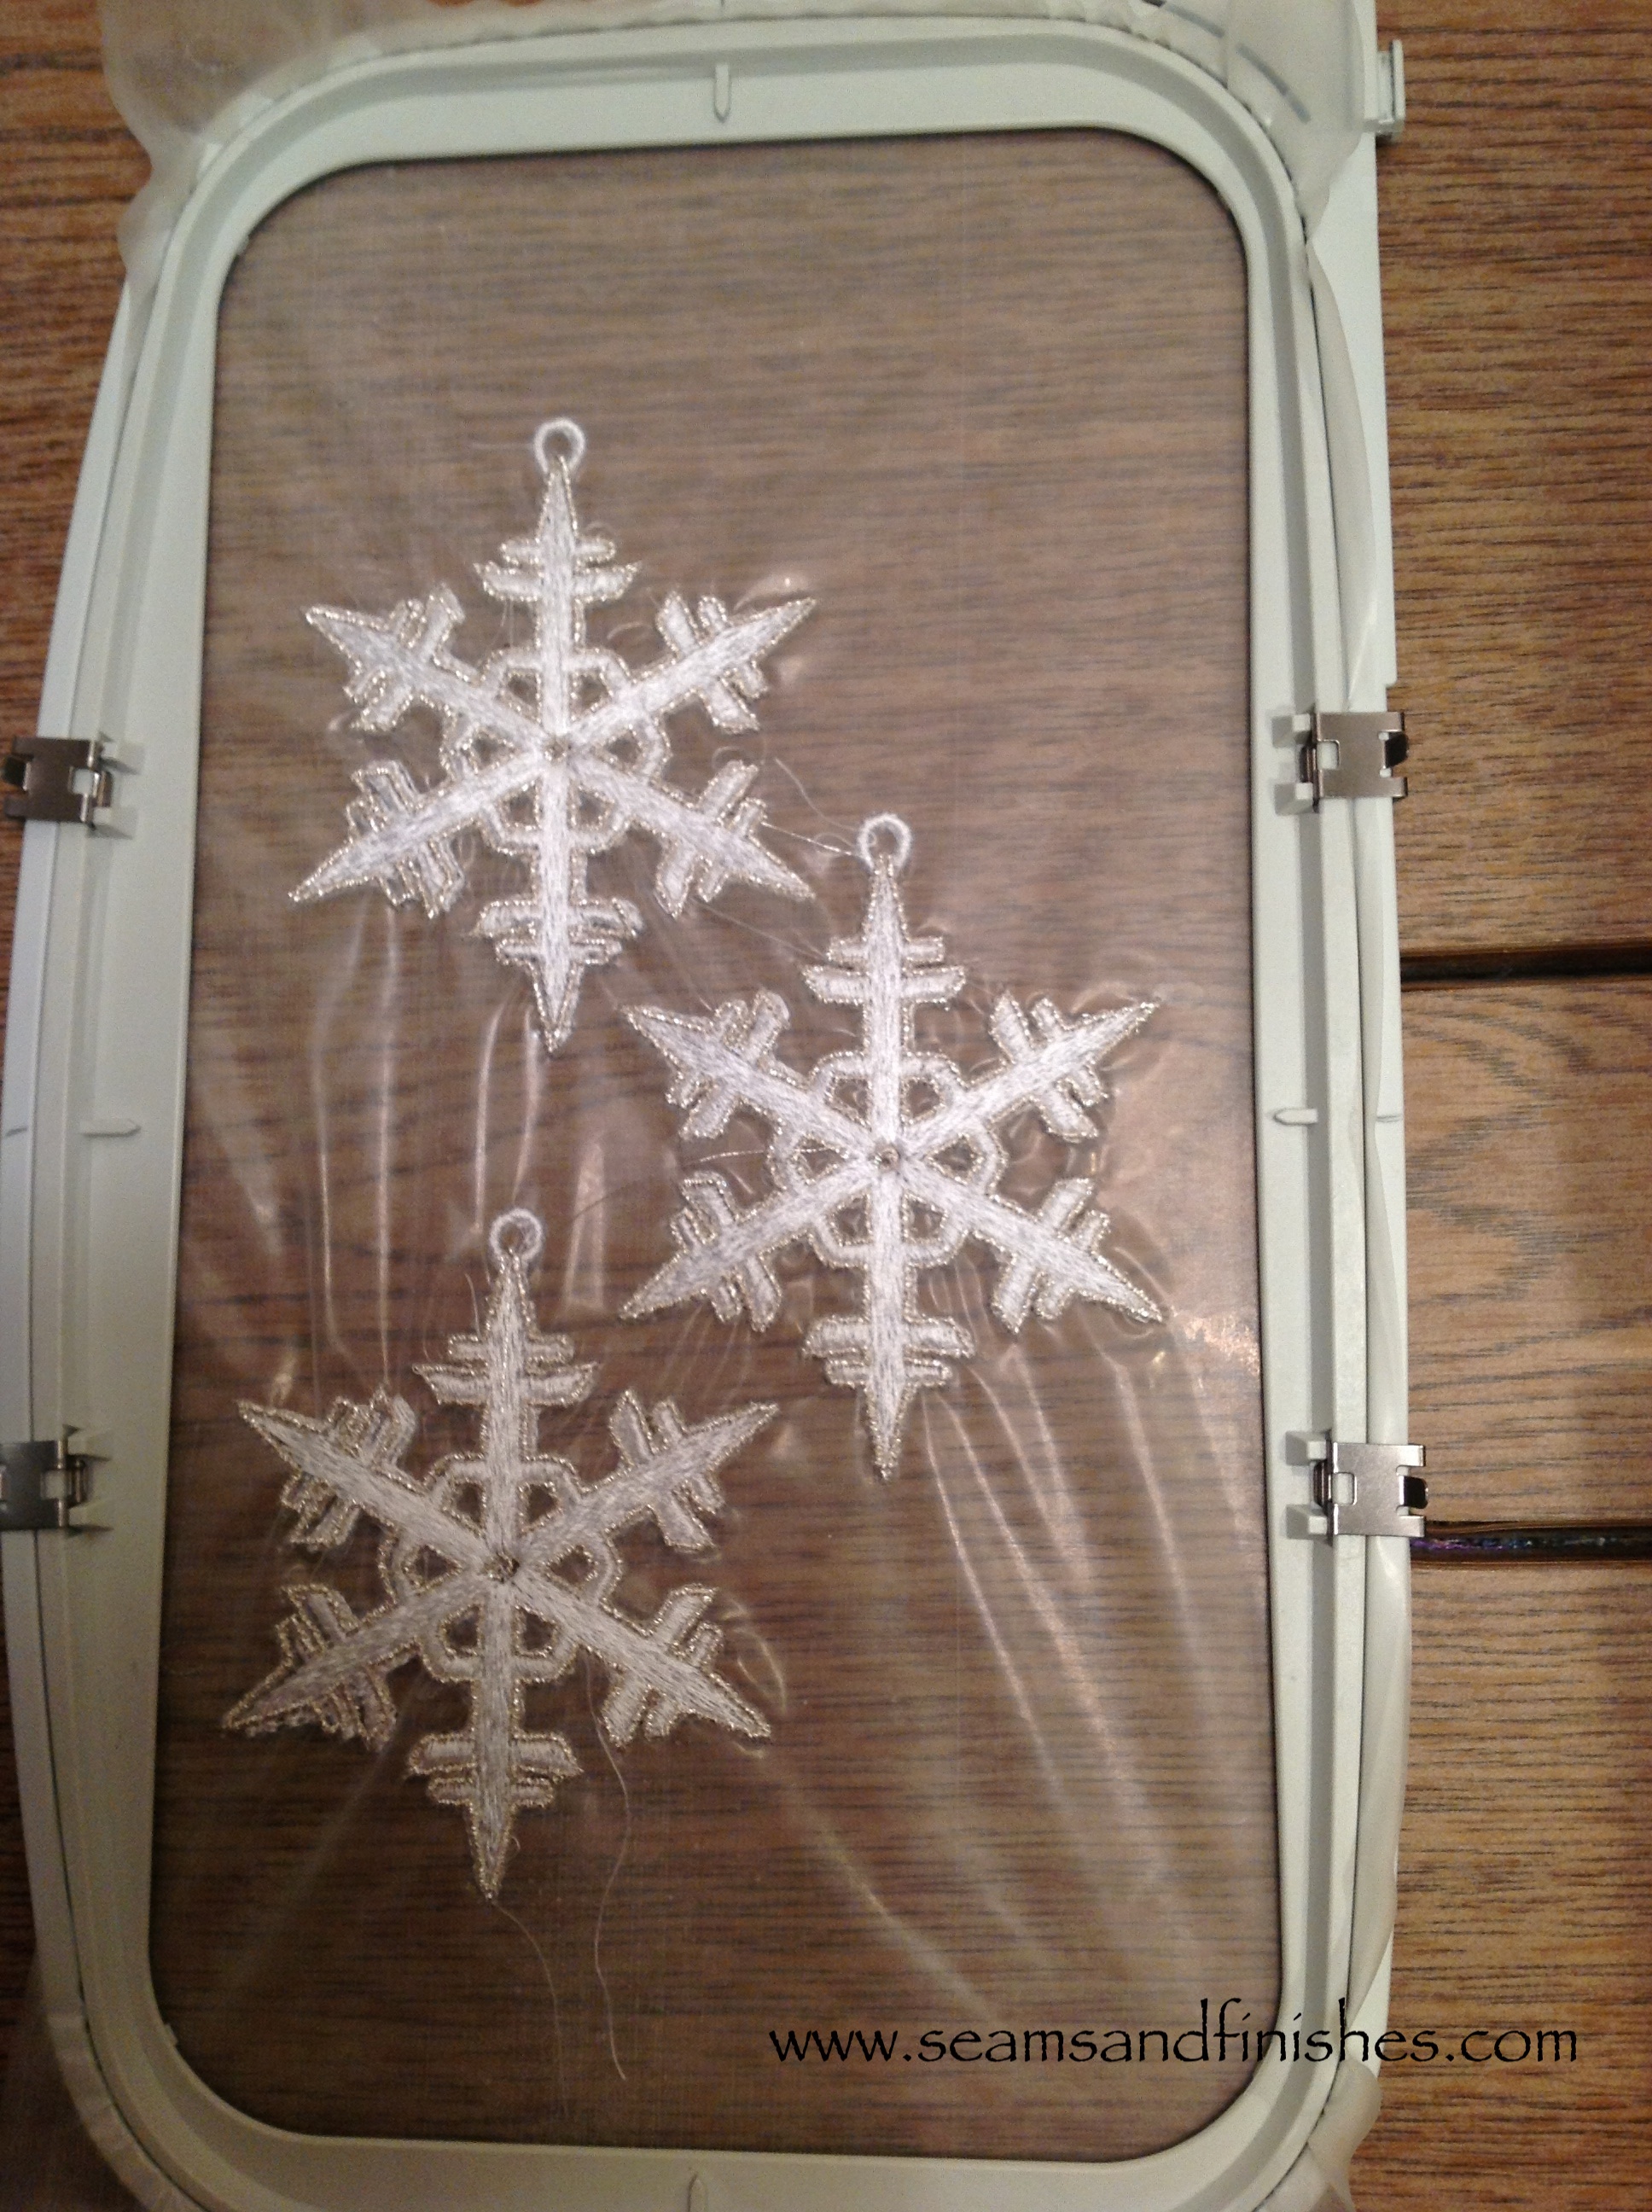
Once they are done, unhoop and trim around each snowflake before soaking the snowflakes in water to dissolve the stabilizer.

image

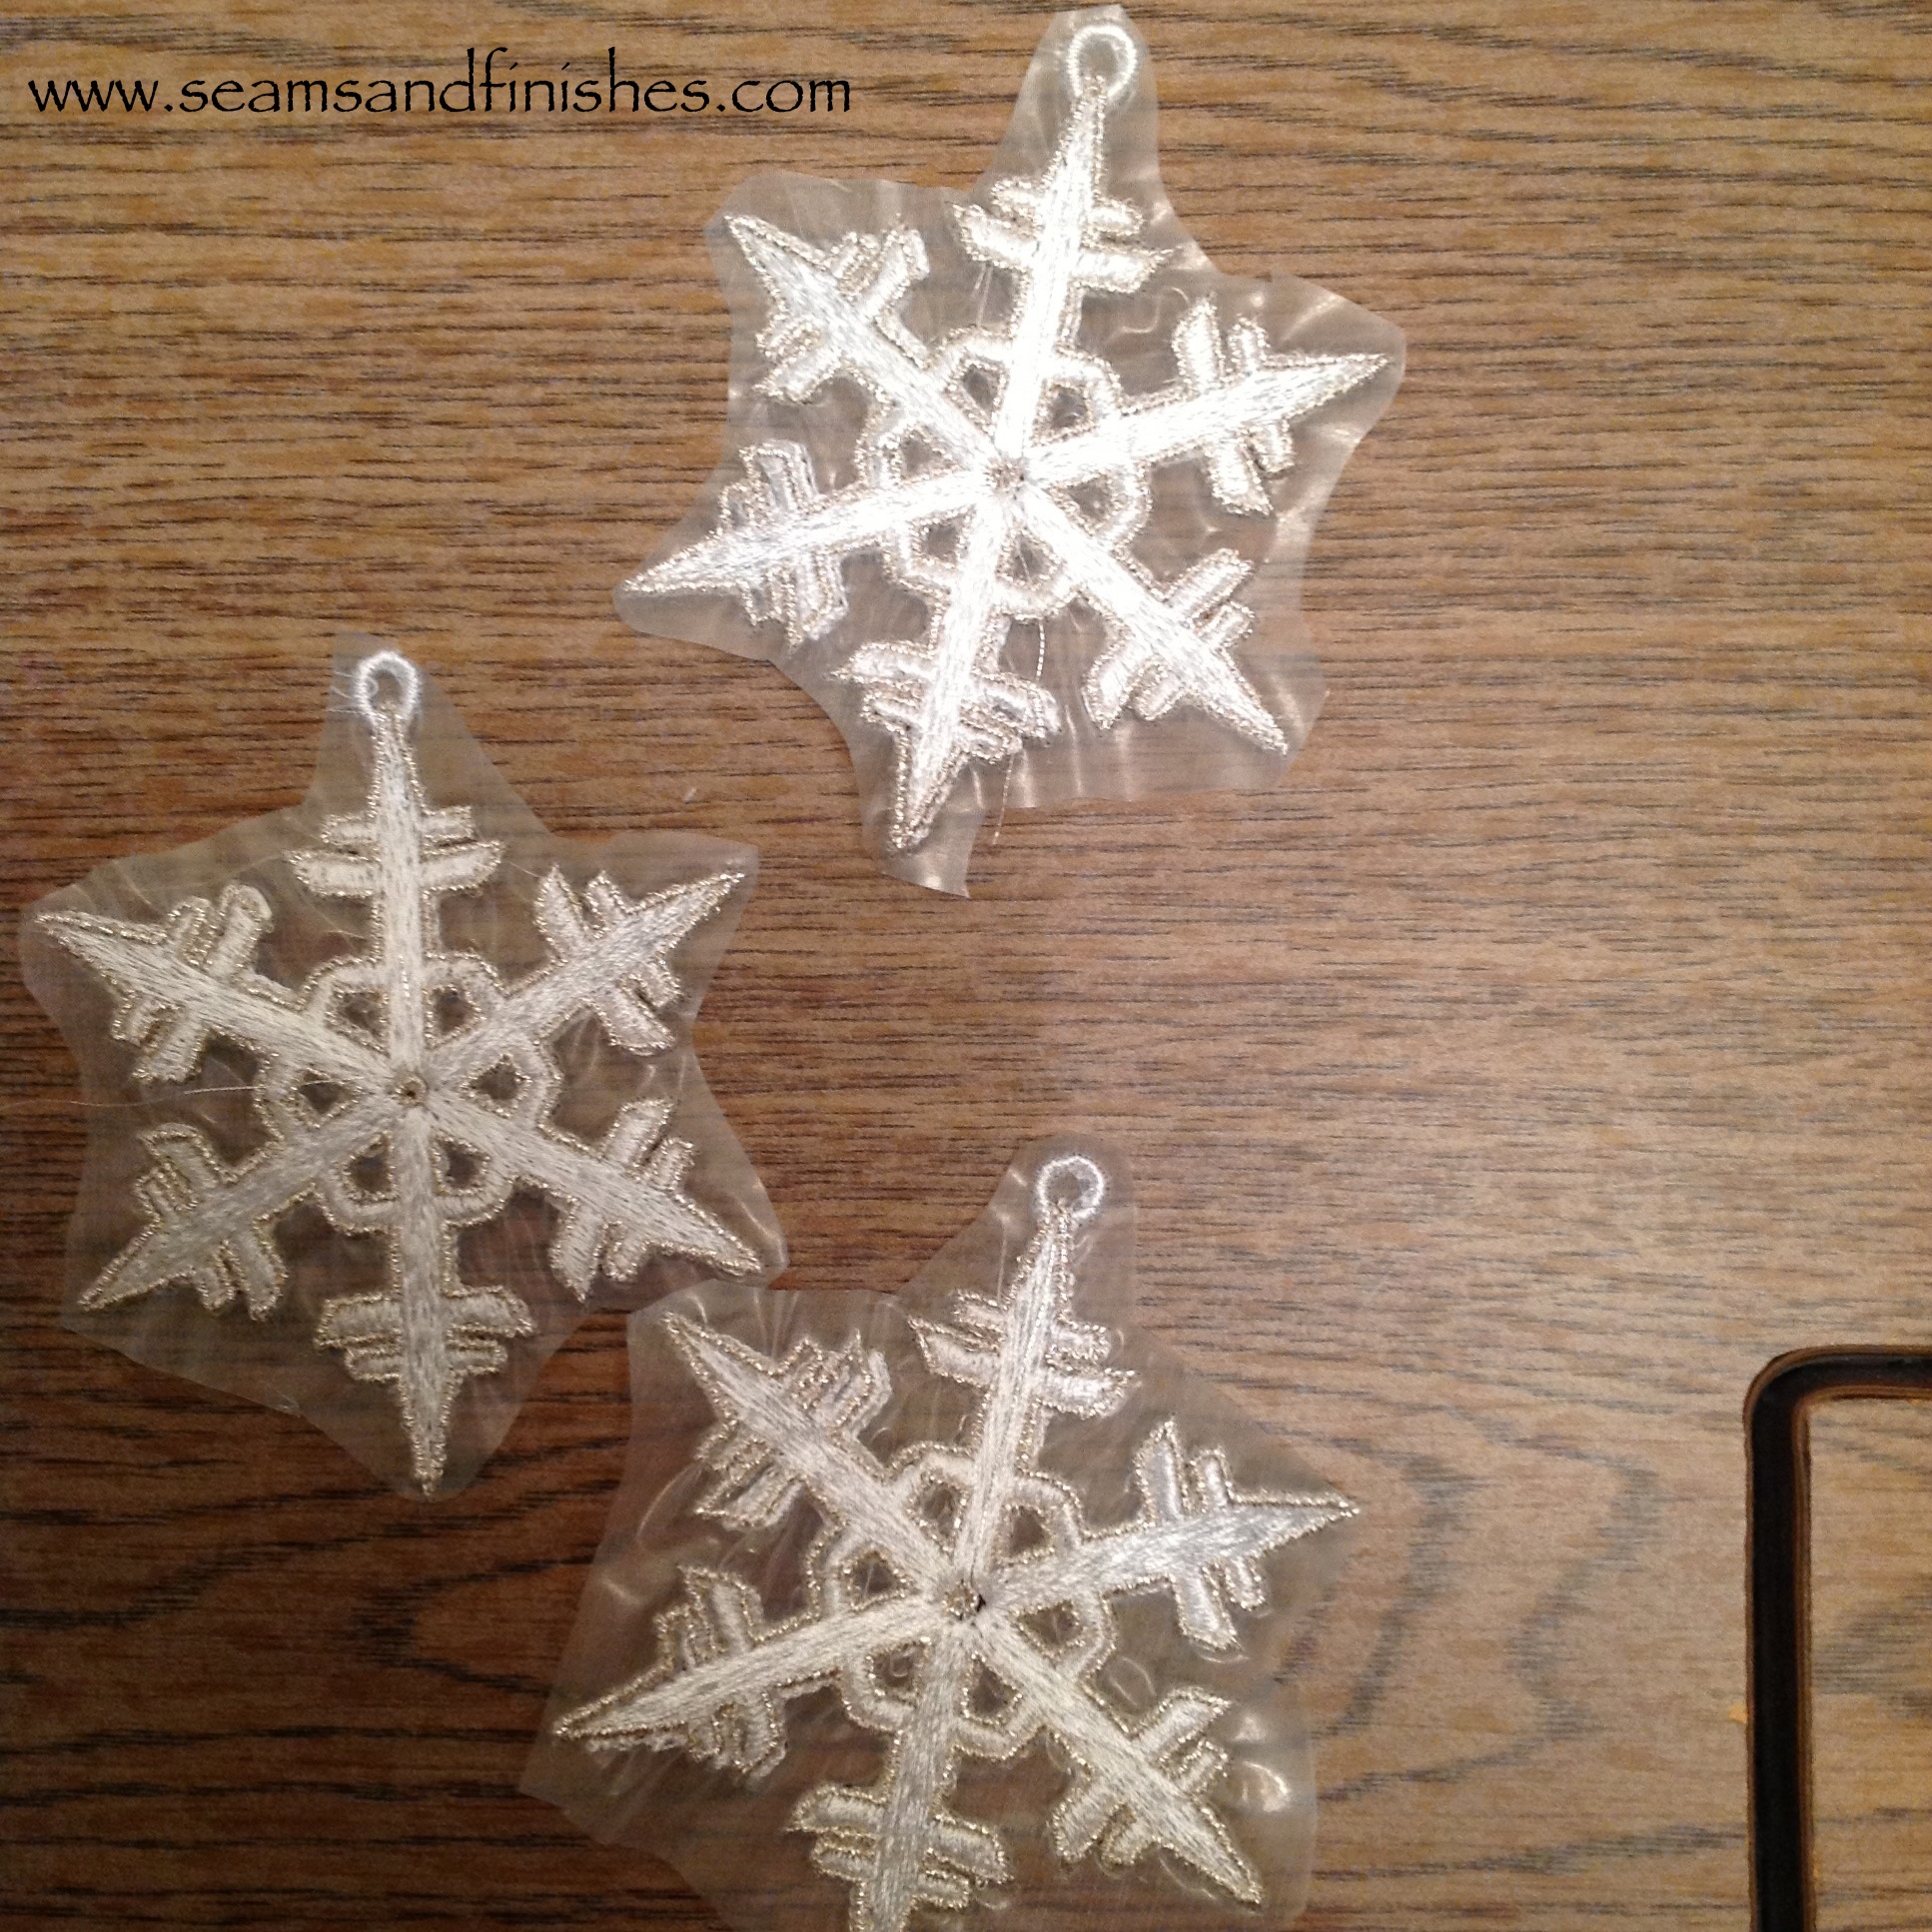
When they are dry, I like to give them just a touch of white glitter paint! (Sometimes a little more than a touch!)

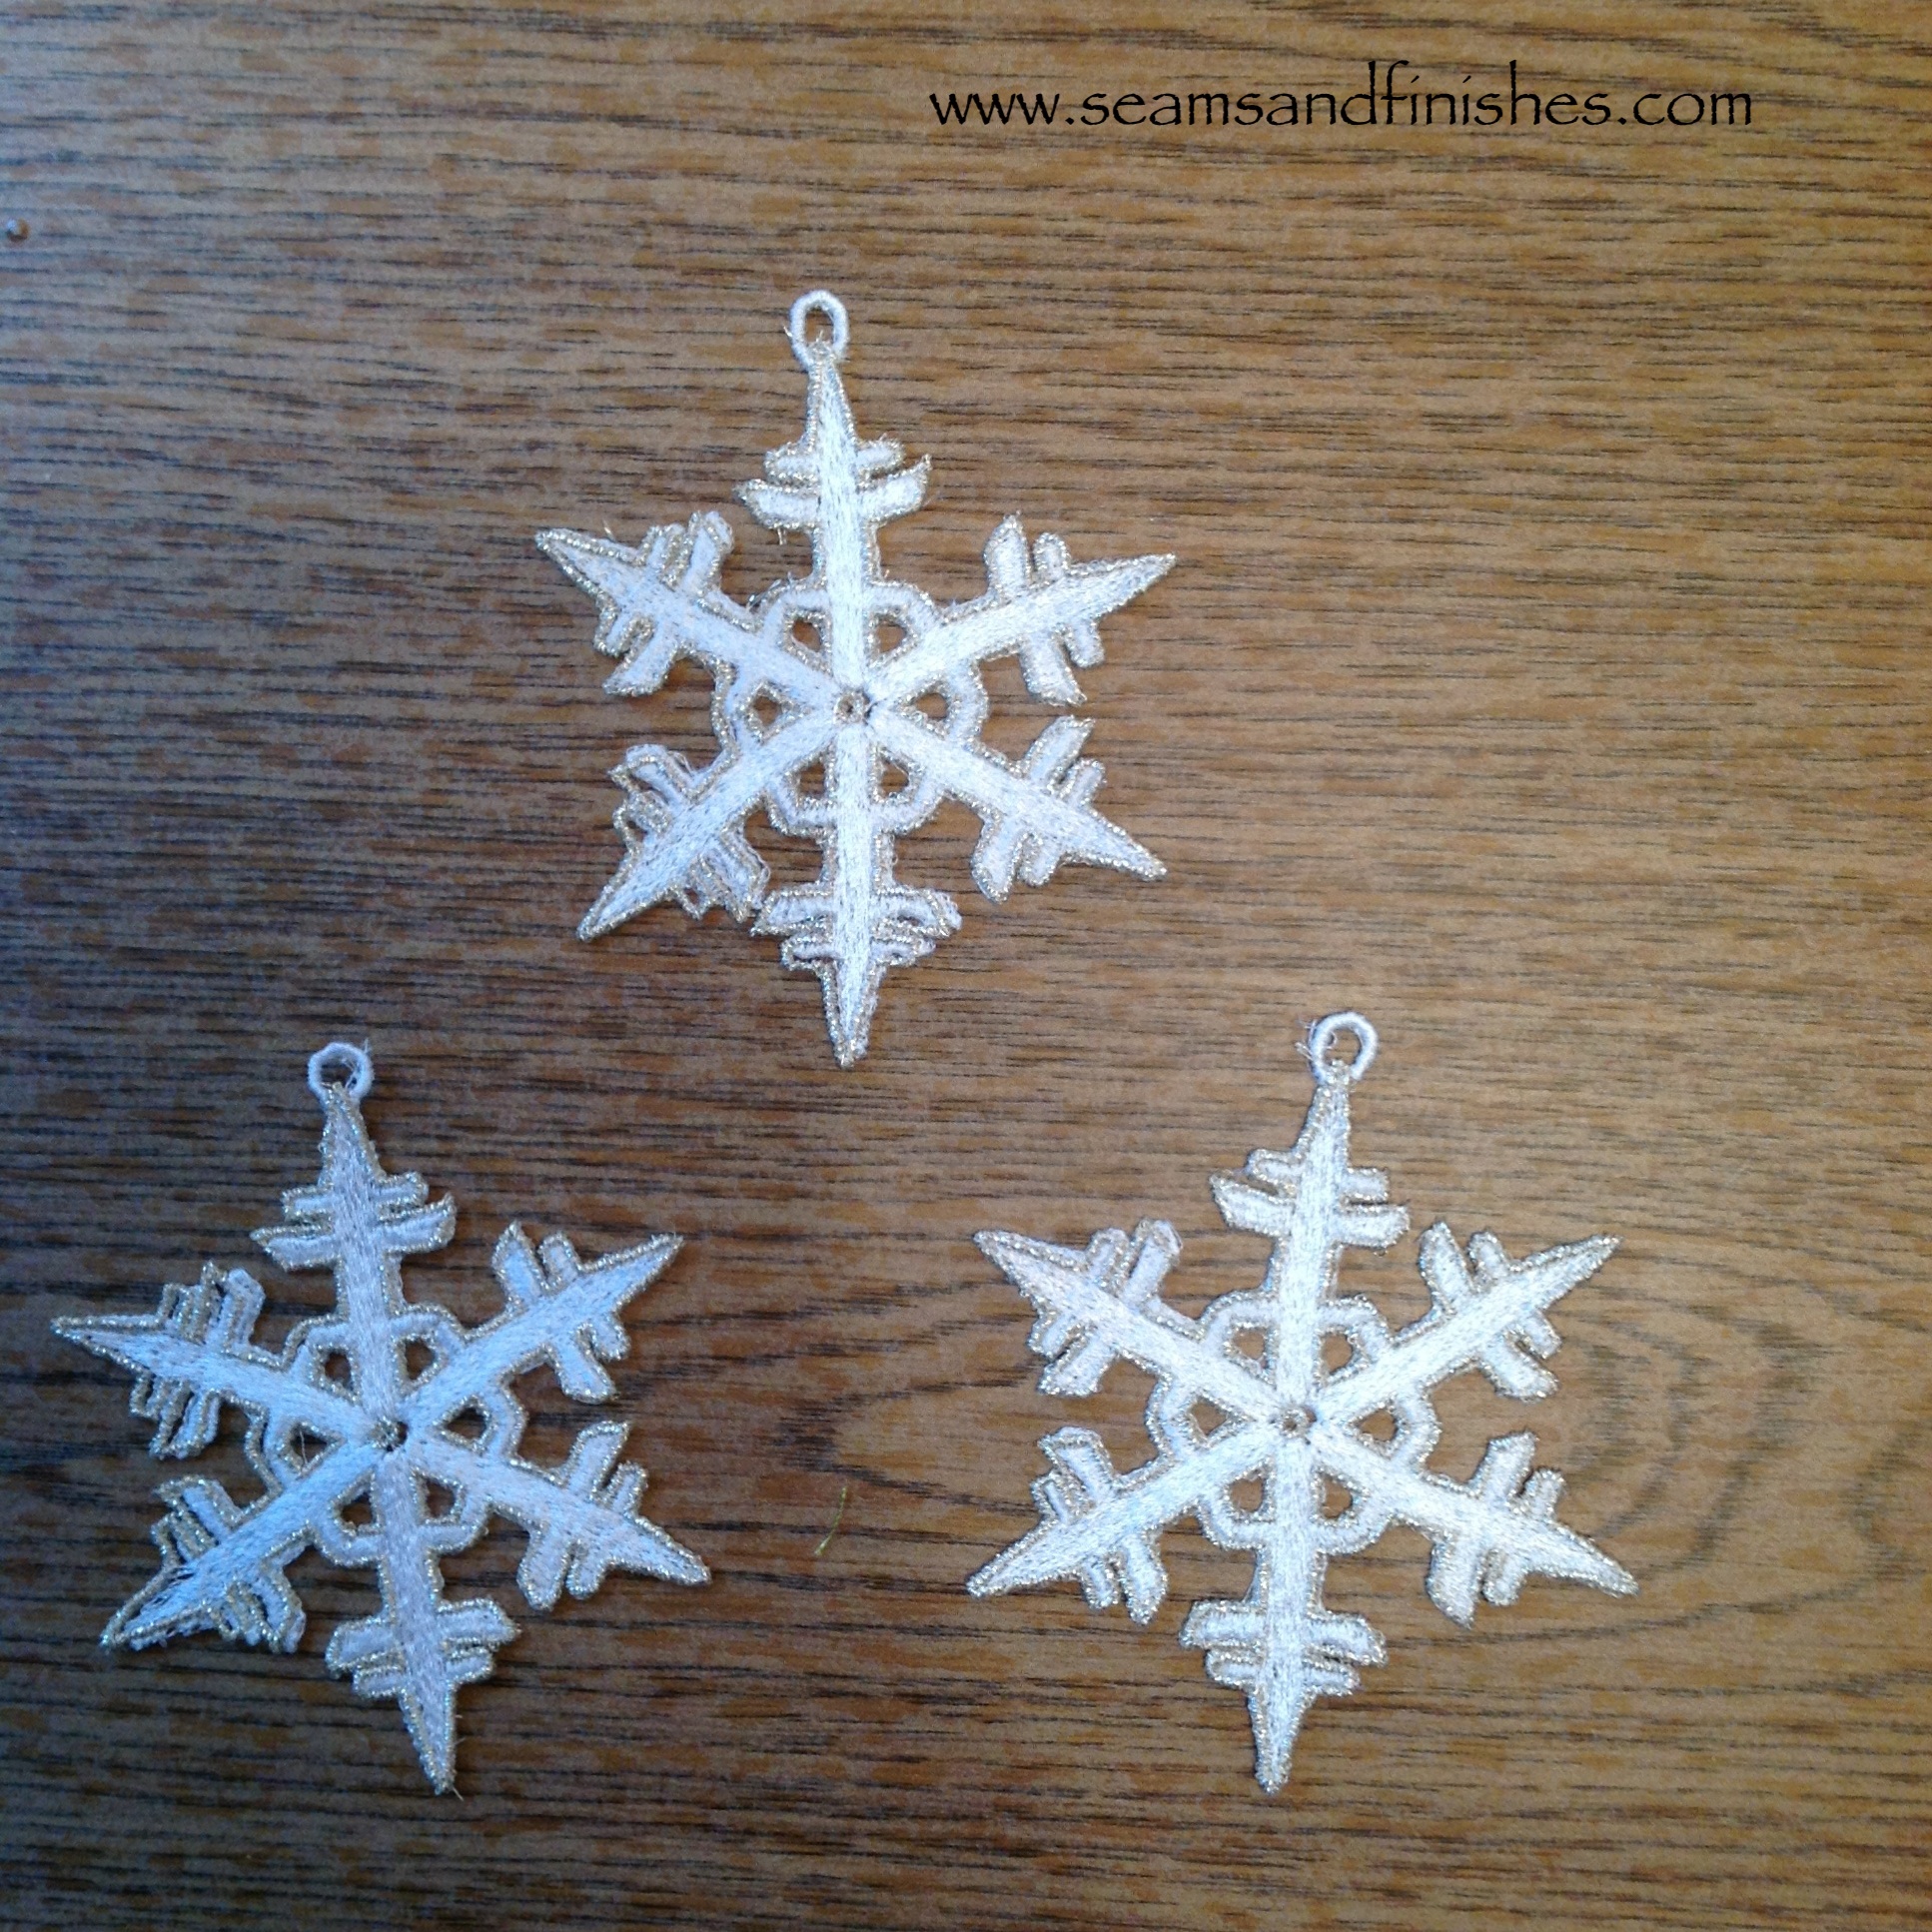
Here are the finished snowflakes I made for the exchange:

image

And here are three different ones that I just made from the same designer.

image

My mailbox has brought me some delightful handcrafted Christmas ornaments over the past few days and introduced me to some talented and creative bloggers whom I might otherwise not found.

I hope you have a moment to stop by and enjoy these lovely blogs too!

http://nutta.typepad.com/

http://seemore-dreammore.blogspot.com

http://bonnechanceblogspot.blogspot.com

http://www.dandeliondrift.com

<a href=”http://www.bloglovin.com/blog/10328877/?claim=wqw2fjdcgu3″>Follow my blog with Bloglovin</a>

Are You Ready for Soccer?

I have a special birthday party to attend next week. The Birthday Boy, born on 9/9/09, will proudly tell you that “I’m growing-up. I’m going to be four”

Well, I don’t know where those four years have gone, but I’ve had a collection of embroidery designs for longer than that begging to be used…

Twist.my.arm.

I hunted for these on Ebay after seeing a sweater using several of the designs in Sew News. I was lucky to have found the collection, as it is no longer available from a dealer.

Getting to work!

  • I purchased a Lands’ End scherpa-lined hoodie
  • changed the hair color in the design from black to “blonde”
  • reduced the design density from 11,000 stitches to 9000.

Changing the hair color required “zooming-in” on the design and viewing a simulation of the stitch-out on the computer. As I watched the player, I was able to insert a new color, and then resume the black thread color. Getting the stops in the right place is important, so that a yellow outline on the soccer player and a yellow soccer ball can be avoided!

Hooping the hoodie:

As I mentioned, this sweatshirt has a hood, and a scherpa lining. Ideally sweatshirts should be “hooped”, but because of the sleeve, hood and bulkiness of this project I did the following:

  • affixed a cutaway mesh stabilizer to the inside of the sweatshirt (scherpa) using a spray adhesive
  • hooped a washaway sticky stabilizer, scored it and peeled the topping away to expose the “sticky”
  • taped my printed design template to the hoodie and centered it in the hoop

Cutaway stabilizers are recommended for embroidering on knits so that the stitches don’t wobble and distort during the stitching and the design is well-supported on the garment.

At the Machine:

Attach the hoop and “fine-tune” so the needle penetrates at the center of the design. Baste around the design, if your machine does this, so that the garment & stabilizer are attached.  I recorded the coordinates of the center after adjusting, just in case. I’m living dangerously and did not do a test stitch-out…

Some people leave their machines to embroider by themselves, unsupervised.

Some people use baby monitors to listen for problems in “Embroideryland.”

I am not in either of those camps. I watch like a hawk. I hold my breath (sometimes, like today) so that I can hear the clunking of a bird’s nest in-the-making, or watch the innocent needle falling out from the vibration, or having to re-thread after a thread break. All of these things happened today.

After tending to these hiccups, I came close to needing the initially recorded coordinates having found it necessary to remove the hoop from the machine while performing minor surgery (during the final color block, of course!)

Ninety minutes after sitting at the machine, we have success.

  • trim jump stitches
  • trim stabilizer
  • press & admire

Ayden will be ready for soccer.

Namaste

My experience with yoga does not extend much beyond Wii Fit and similar DVD exercise routines (admittedly not practiced on a regular basis).

However, with all good intentions of exercising more during the winter months, I did something that is still referred to as: “I still can’t believe you did that!” Which is wait in line at Target (I was #3), before the store opened in the hopes of purchasing one of the 12 systems they had in stock.

Arriving at Target that early morning, I joined with a handful of other customers, most likely there to secure the scarce and coveted Wii.

At 7:00 AM, security guard and a store Associate promptly came to the door, and asked if we were there to purchase the Wii. When our intentions were confirmed, each of us were handed “Golden Tickets”and escorted as a group to the electronics counter to make our purchases. I was back home and my mission completed by 8:00AM! It was unknown that I had even left the house!

I’m leading up to the dramatic sewing part…

Based on the introduction to Yoga on the Wii, my daughter has been a regular practitioner of this exercise, attending a weekly class and often using a Yoga App or other online in-between.

As any machine embroiderer might know, any hobby, interest, affiliation or celebration is worthy to be championed by embroidered embellishment! So I just happened to find these Yoga Designs, and decided they would be *necessary* for my Embroidery Designs Collection.

A towel would be the ideal project for one of these designs! After all the pre-embroidery preparations, I was ready to get down to business at the machine. The first basting around the hoop/design was perfect and the first part of the design, the word “Namaste” was about to be stitched. About at the middle of the letter “m” the machine was very unhappy- noises, growls,- snap- needle breaks- re thread, re-start- things are sort of okay, but maybe not. The word was finished, it looked fine, so I continued through the color changes and completed the design. Flipped it over to see BIRD’S NEST behind Namaste. That will never fly. ( Didn’t mean the play on words, but it is none-the-less appropriate.)

The secret is never to unhoop until you are sure that the stitch-out is successful, so if you have to rip-out or “negatively stitch” something, you have a better chance of getting your design lined up properly.

Here is my design after ripping-out those stitches.

And here is the finished one

Ripping-out and re-doing is part of the sewing process. In fact, when the need arises, I find myself thinking about and planning the next steps in the project, etc. There is a mantra to this. I think it’s very “Zen”, sewing Zen.

Do you have a “Sewing Zen”?

Namaste